• Graphite, Charcoal, Pastel
    • Oil Paintings
    • Military experience art
  • Artist Statement
    • Pets
    • Kid Photos
    • Family Photos
    • Couples
    • Travel and Nature
  • Photo Blog
  • Media
  • Contact
Menu

Single-Handed Arts, LLC

Fine Arts and Photography Services
  • Fine Art
    • Graphite, Charcoal, Pastel
    • Oil Paintings
    • Military experience art
  • Artist Statement
  • Photography
    • Pets
    • Kid Photos
    • Family Photos
    • Couples
    • Travel and Nature
  • Photo Blog
  • Media
  • Contact
×
IG - December 8, 2021 Post.jpg
IG - December 8, 2021 Post-2.jpg
IG - December 8, 2021 Post-3.jpg
IG - December 8, 2021 Post-4.jpg
IG - December 8, 2021 Post-5.jpg
IG - December 8, 2021 Post-6.jpg
IG - December 8, 2021 Post-7.jpg
IG - December 8, 2021 Post-8.jpg
IG - December 8, 2021 Post-10.jpg
IG - December 8, 2021 Post-11.jpg
IG - December 8, 2021 Post.jpg IG - December 8, 2021 Post-2.jpg IG - December 8, 2021 Post-3.jpg IG - December 8, 2021 Post-4.jpg IG - December 8, 2021 Post-5.jpg IG - December 8, 2021 Post-6.jpg IG - December 8, 2021 Post-7.jpg IG - December 8, 2021 Post-8.jpg IG - December 8, 2021 Post-10.jpg IG - December 8, 2021 Post-11.jpg

Nightmares Before Christmas!

Joshua Hubbell December 8, 2021

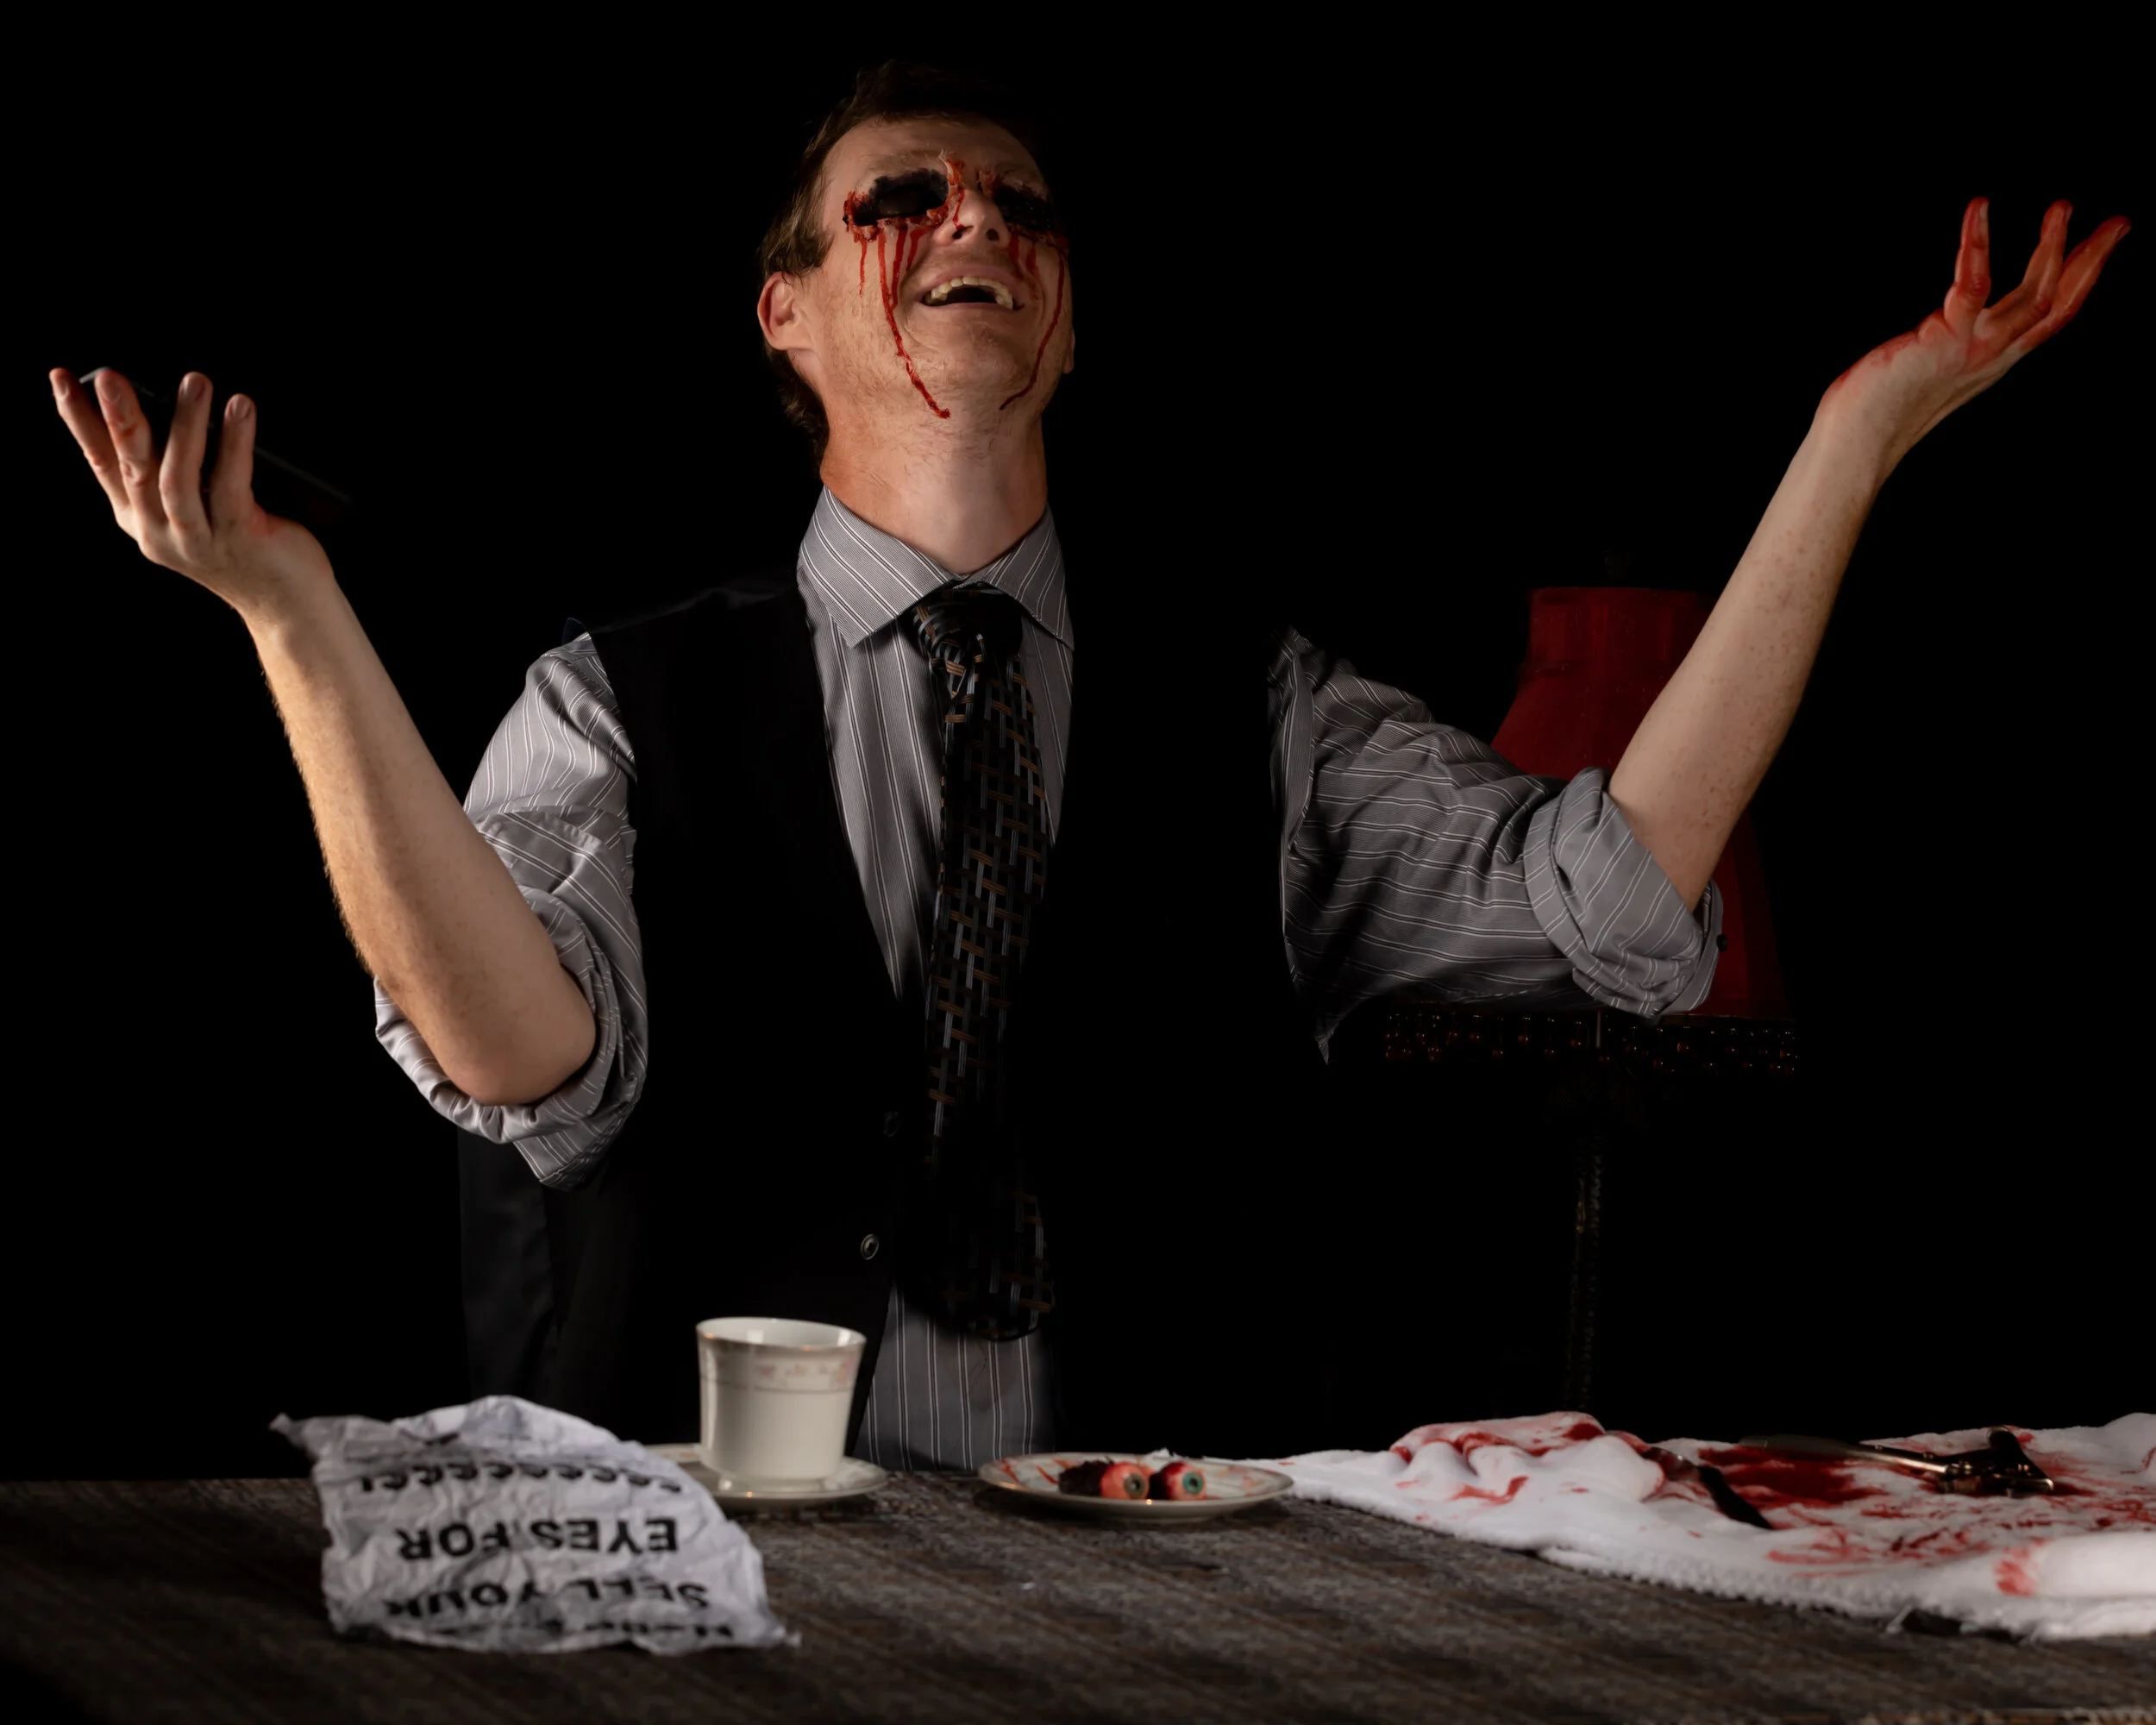
To start off our Nightmares Before Christmas fun we invited our here who is burning bright with that Christmas feeling. Unfortunately, he seems to have mistaken “feeling” with “gasoline and fire,” which happens sometimes. But hey, at least he has a friend at this time of the year. Maybe not a willing friend but a warm friend, nonetheless.


This was a year in the making. Our first attempt at this was last year but this sort of shot is challenging to do because you need two things to work perfectly and just getting anything to work perfectly is a challenge. To do this, you need the fire to burn bright and high. Meanwhile, you also need your autofocus to be able to “see” what you are focusing on and in the dark (remember, the fire is in back so we had to use a low artificial light up front). Last year the fire worked, the autofocus failed, and the small LCD screen in back lied. This year we used a different light and we learned from our mistake. I had my assistant practice earlier in the day with me, and then again just before we lit the fire and things worked out.


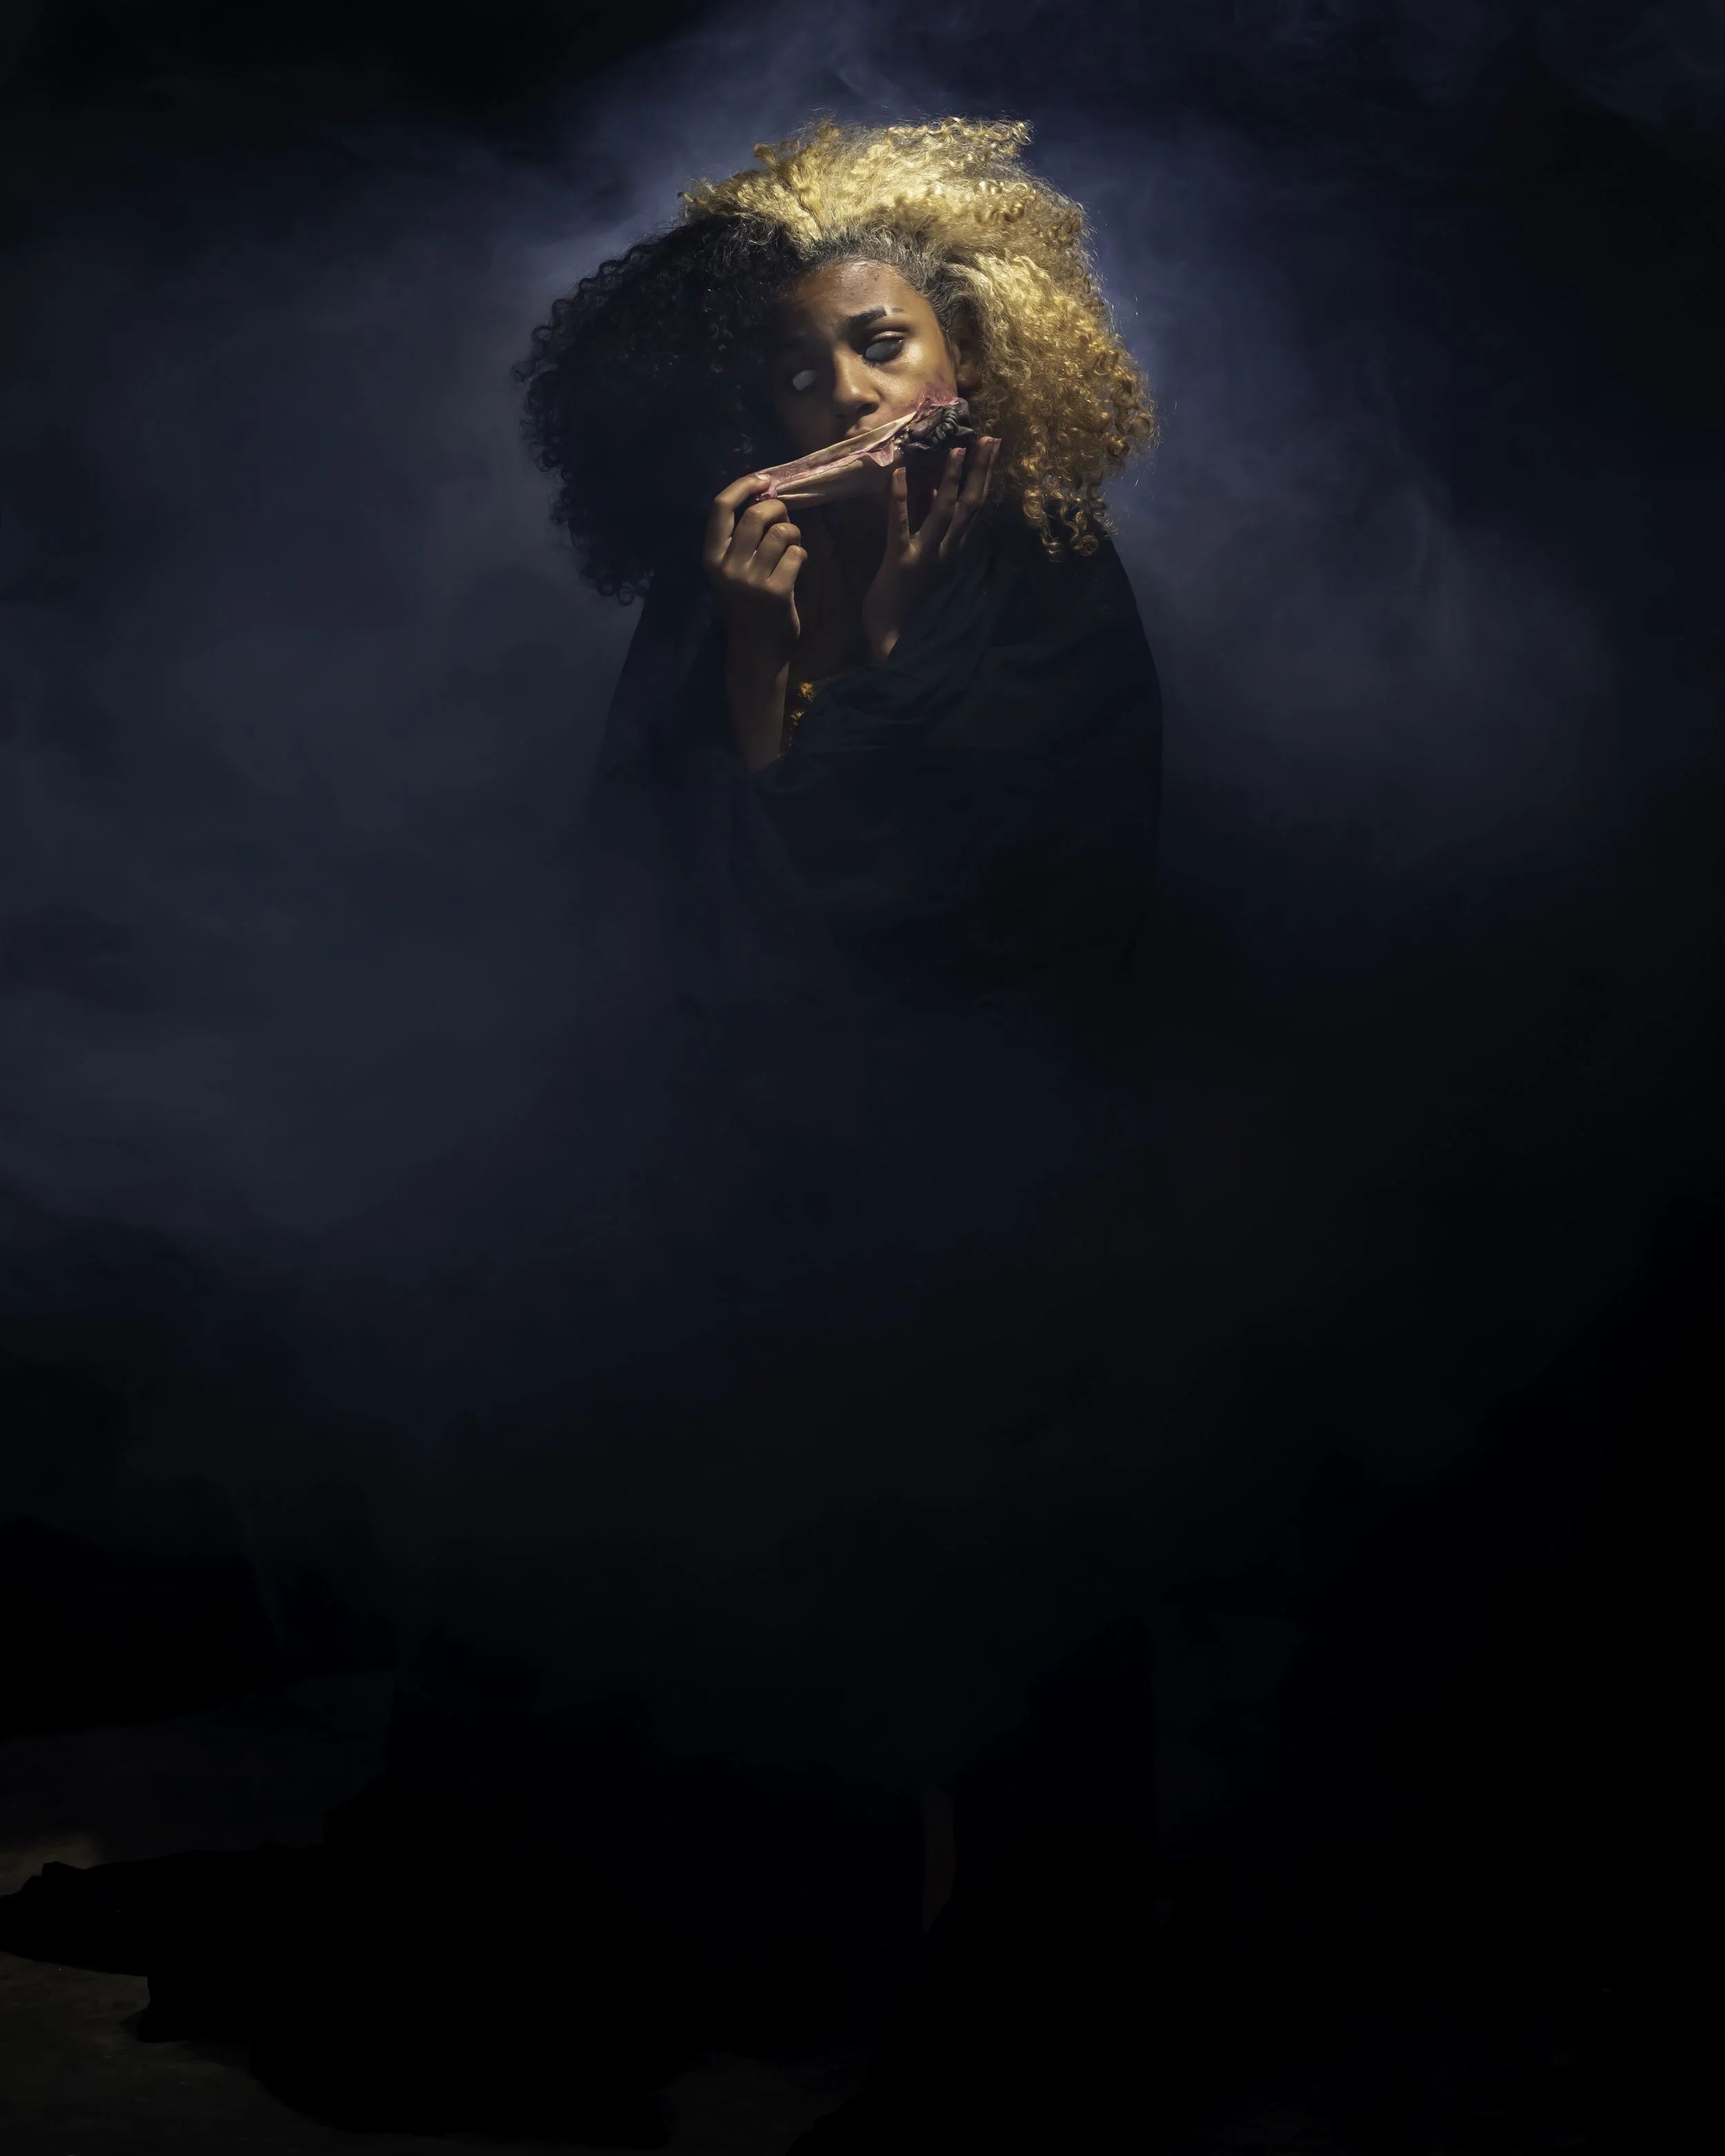
Anyway, I set up two strobes with grids. One strobe directly to my right and one just up front and to my left. The fire acted as a backlight. My assistant helped dirty my face up with some of her SFX stuff and then I had her take the photo. Then I took her photo. As for our friend, whom we named Yorick, well I’ll post about that on Friday if I don’t have anything else to post between now and then. Otherwise, I’ll get to it when I get to it.


In the meantime, Merry Christmas, and if you don’t like what we did here you definitely won’t like what we will be doing next week. Let’s just say we will be getting into the “spirit” of the season next week.

Tags Photography Tips, Horror Photography, Nightmares Before Christmas
Comment
October 28, 2021 Cannibal-8.jpg
October 28, 2021 Cannibal-11.jpg
October 28, 2021 Cannibal-14.jpg
October 28, 2021 Cannibal-15.jpg
October 28, 2021 Cannibal-16.jpg
October 28, 2021 Cannibal-20.jpg
October 28, 2021 Cannibal-25.jpg
October 28, 2021 Cannibal-21.jpg
October 28, 2021 Cannibal-22.jpg
October 28, 2021 Cannibal-23.jpg
October 28, 2021 Cannibal-28.jpg
October 28, 2021 Cannibal-31.jpg
October 28, 2021 Cannibal-36.jpg
October 28, 2021 Cannibal-8.jpg October 28, 2021 Cannibal-11.jpg October 28, 2021 Cannibal-14.jpg October 28, 2021 Cannibal-15.jpg October 28, 2021 Cannibal-16.jpg October 28, 2021 Cannibal-20.jpg October 28, 2021 Cannibal-25.jpg October 28, 2021 Cannibal-21.jpg October 28, 2021 Cannibal-22.jpg October 28, 2021 Cannibal-23.jpg October 28, 2021 Cannibal-28.jpg October 28, 2021 Cannibal-31.jpg October 28, 2021 Cannibal-36.jpg

Playing Dice Games With Cannibals.

Joshua Hubbell October 29, 2021

He kept losing but he kept going back to play her game. He needed the food she promised if he won but he should have known you don’t play games with cannibals, especially not games of chance. Losses against her came at a high cost. She needed him to keep his arm so she could keep playing against him. She took an ear this time. His consultation prize wasn’t worth it.


This has been a great October. If you enjoyed our horror sessions then check back next October for those, but next month keep an eye out – we will be trying to recreate a classic painting in between featuring photography tips and tricks. And of course, if you want any family photography work or wedding photography work just send us an email.


In the meantime, this photo session was a little more careful with the setup. For lighting, we kept it mostly low with two strobes hooked up to softboxes with grids on to heavily control the lighting. Additionally, there was a speedlight overhead with a snoot and a grid on – again, to heavily control the light and keep a small circle of light on the table. Remember, in photography light and shadows are your brushes and what you do with them is how you will communicate your work.


As for props, the main one was the cut ear. Obviously, we didn’t cut our model’s ear off. We did create a mold cast of his ear with alginate and then used white resin mixed with mica powder for color. The mica powder went terrible. I don’t think I mixed enough in, and it ended up looking pink, so I ended up painting it – poorly. Thankfully it didn’t have to look good as I’d be burying it in blood it just had to look gnarly and mangled, which my shoddy fabrication skills really helped make happen on accident. Proving yet again that incompetence can very much result in success if you pour enough blood on it.

Tags Horror Photography, 2021
Comment
October 17, 2021 - 1.jpg
October 17, 2021 - 2BW.jpg
October 17, 2021 - 3.jpg
October 17, 2021 - 4BW.jpg
October 17, 2021 - 5.jpg
October 17, 2021 - 1.jpg October 17, 2021 - 2BW.jpg October 17, 2021 - 3.jpg October 17, 2021 - 4BW.jpg October 17, 2021 - 5.jpg

Do projects to push your skill and improve!

Joshua Hubbell October 20, 2021

Out for a walk one night, she was worrying about the greater philosophies of life. It was with great relief when she realized that she never, in fact, existed in the first place. At this point in time, something else took her place and proceeded to peel away the skin that hid its existence.


Shots like these are why I do shots like these; so much was learned in creating this. The more you learn the more you have in your toolbox and the more you can pull out of that toolbox when it comes to working with clients. This took a bit of prosthetic creation but also some photoshop touch ups. This is also why you see other photographers doing various projects seeming for no reason at all. It isn’t just to showcase skill but also to push their skill into new areas.


When you become stagnant in your craft is when you are in the most danger of giving up on it. Stagnation leads to boredom, boredom leads to distractions, and distractions leads to giving up.


This shot also included a 3-light setup, all speedlites. One speedlite overhead as a key light, one behind as a hair light, and one just off to the side as a fill light. We also used some fog to bring that backlight out some.

Tags Horror Photography
Comment
October 9, 2021 Mouthless Horror.jpg
October 9, 2021 Mouthless Horror-4.jpg
October 9, 2021 Mouthless Horror-9.jpg
October 9, 2021 Mouthless Horror-19.jpg
October 9, 2021 Mouthless Horror-14.jpg
October 9, 2021 Mouthless Horror-20.jpg
October 9, 2021 Mouthless HorrorBW-21.jpg
October 9, 2021 Mouthless Horror.jpg October 9, 2021 Mouthless Horror-4.jpg October 9, 2021 Mouthless Horror-9.jpg October 9, 2021 Mouthless Horror-19.jpg October 9, 2021 Mouthless Horror-14.jpg October 9, 2021 Mouthless Horror-20.jpg October 9, 2021 Mouthless HorrorBW-21.jpg

The Mouthless Horror

Joshua Hubbell October 11, 2021

He was told it was from another reality. That he could only look at it but that he mustn’t touch it. They warned him it would change him in horrible ways if he touched it. He did not listen. Now he’ll never speak about it.


This is a more complex shot then usual with 2 tricks being used. There are 4 lights involved with 3 on in any shot. The two strobes were consistent for general lighting of the subject. One strobe up front with a honeycomb grid over a long soft box and one over head with a honeycomb grid to create a circle of light around the subject and the items.


The tricks occurred with the speedlites. For the first trick we put one speedlite in the box with the crystal ball but under one layer of the sheet. This made the ball appear to be glowing from the box. If you do this, be careful. Flashes get hot when they go off, and a sheet can catch fire if you go too fast with this. However, this will make something in a box or other item appear to be glowing.


The other trick was lining a light up with a purple gel perfectly with the crystal ball. This would make the light shine through it and make the ball appear to glow. The color could be any color gel we had. However, the light in the background had to be aligned with the ball perfectly or it wouldn’t work. Good exercise for verbal command practice. The light was also equipped with a snoot and a grid to help constrict where it went.


The mouth disappearing was done with prosthetics we made. I’ll post a “how to” later. This may not be an effect you want to recreate but the technique can be easily adjusted for other ideas and is worth knowing.


Tags Photography Tips, Horror Photography
Comment
October 3, 2021 Gouged eyes-2.jpg
October 3, 2021 Gouged eyes-6.jpg
October 3, 2021 Gouged eyes-8.jpg
October 3, 2021 Gouged eyes-9.jpg
October 3, 2021 Gouged eyes-10.jpg
October 3, 2021 Gouged eyes-11.jpg
October 3, 2021 Gouged eyes-16.jpg
October 3, 2021 Gouged eyes-17.jpg
October 3, 2021 Gouged eyes-18.jpg
October 3, 2021 Gouged eyes-2.jpg October 3, 2021 Gouged eyes-6.jpg October 3, 2021 Gouged eyes-8.jpg October 3, 2021 Gouged eyes-9.jpg October 3, 2021 Gouged eyes-10.jpg October 3, 2021 Gouged eyes-11.jpg October 3, 2021 Gouged eyes-16.jpg October 3, 2021 Gouged eyes-17.jpg October 3, 2021 Gouged eyes-18.jpg

Gouged eye fun!

Joshua Hubbell October 4, 2021

Yay, it’s October! Let’s start your week off with some gouged eyes! Our friend here made the mistake of trusting a random sign he found in the street and didn’t bother to call until after he did the deed. Unfortunately, he has no way to put the eyes back now. Hopefully your week goes better then his.


We made resin eyes for this. I’ll track down the videos we followed and post them later. My SFX assistant also used a modelling wax and scar blood for this plus SFX blood. Originally, her and I argued about using liquid latex as I wanted to minimize photoshopping out exposed areas until she pointed out the point of this exercise is to challenge my abilities at photo processing and photography as it is to challenge her abilities at special effects. She was right, so we went with her approach, and it worked out.


I shot most of these photos by the way. Blind as the SFX was over my eyes. I had my remote hooked up and palmed it. The one thing I did forget was to set my camera to a 2 second delay so I could push the button and quickly hide the remote. I had the music playing loud so I couldn’t actually hear my assistant moving around – she had fun with it.


We used a three-light set up, one strobe up front with a softbox and a grid. One strobe off to the side with a grid. One speedlight over head on a boom stand. In hindsight I should have had the lamp in the background on the other side of me and on so it would give the illusion of the light coming from it. I forgot about it, but it turned out fine.


#Marylandphotographer #annearundelphotographer #horrorphotography

Tags Horror Photography
Comment

Search Posts

Powered by Squarespace