• Graphite, Charcoal, Pastel
    • Oil Paintings
    • Military experience art
  • Artist Statement
    • Pets
    • Kid Photos
    • Family Photos
    • Couples
    • Travel and Nature
  • Photo Blog
  • Media
  • Contact
Menu

Single-Handed Arts, LLC

Fine Arts and Photography Services
  • Fine Art
    • Graphite, Charcoal, Pastel
    • Oil Paintings
    • Military experience art
  • Artist Statement
  • Photography
    • Pets
    • Kid Photos
    • Family Photos
    • Couples
    • Travel and Nature
  • Photo Blog
  • Media
  • Contact
×
September 26, 2021 Vivian.jpg
September 26, 2021 Vivian-2.jpg
September 26, 2021 Vivian BW-2.jpg
September 26, 2021 Vivian BW-4.jpg
September 26, 2021 Vivian-4.jpg
September 26, 2021 Vivian-6.jpg
September 26, 2021 Vivian.jpg September 26, 2021 Vivian-2.jpg September 26, 2021 Vivian BW-2.jpg September 26, 2021 Vivian BW-4.jpg September 26, 2021 Vivian-4.jpg September 26, 2021 Vivian-6.jpg

Joshua Hubbell October 6, 2021

I’m short of time at the time of typing this up so this will be quick.


3 quick and easy tips or a review of 3 quick easy tips:


1)      If you want some dramatic lighting, position the sun so your subject’s head eclipses it. Keep in mind that if your subject moves much you can expect to be looking directly at the sun so coordinate carefully.


2)      Focus on the eyes. Poets write whole poems about the eyes for a reason.


3)      Get down or up to your subject’s level. What level? See number 2 here; eye level.


Bonus tip: a simple background often converts well to grayscale.

Tags Photography Tips, photography advice
Comment
October 3, 2021 Gouged eyes-2.jpg
October 3, 2021 Gouged eyes-6.jpg
October 3, 2021 Gouged eyes-8.jpg
October 3, 2021 Gouged eyes-9.jpg
October 3, 2021 Gouged eyes-10.jpg
October 3, 2021 Gouged eyes-11.jpg
October 3, 2021 Gouged eyes-16.jpg
October 3, 2021 Gouged eyes-17.jpg
October 3, 2021 Gouged eyes-18.jpg
October 3, 2021 Gouged eyes-2.jpg October 3, 2021 Gouged eyes-6.jpg October 3, 2021 Gouged eyes-8.jpg October 3, 2021 Gouged eyes-9.jpg October 3, 2021 Gouged eyes-10.jpg October 3, 2021 Gouged eyes-11.jpg October 3, 2021 Gouged eyes-16.jpg October 3, 2021 Gouged eyes-17.jpg October 3, 2021 Gouged eyes-18.jpg

Gouged eye fun!

Joshua Hubbell October 4, 2021

Yay, it’s October! Let’s start your week off with some gouged eyes! Our friend here made the mistake of trusting a random sign he found in the street and didn’t bother to call until after he did the deed. Unfortunately, he has no way to put the eyes back now. Hopefully your week goes better then his.


We made resin eyes for this. I’ll track down the videos we followed and post them later. My SFX assistant also used a modelling wax and scar blood for this plus SFX blood. Originally, her and I argued about using liquid latex as I wanted to minimize photoshopping out exposed areas until she pointed out the point of this exercise is to challenge my abilities at photo processing and photography as it is to challenge her abilities at special effects. She was right, so we went with her approach, and it worked out.


I shot most of these photos by the way. Blind as the SFX was over my eyes. I had my remote hooked up and palmed it. The one thing I did forget was to set my camera to a 2 second delay so I could push the button and quickly hide the remote. I had the music playing loud so I couldn’t actually hear my assistant moving around – she had fun with it.


We used a three-light set up, one strobe up front with a softbox and a grid. One strobe off to the side with a grid. One speedlight over head on a boom stand. In hindsight I should have had the lamp in the background on the other side of me and on so it would give the illusion of the light coming from it. I forgot about it, but it turned out fine.


#Marylandphotographer #annearundelphotographer #horrorphotography

Tags Horror Photography
Comment
IG - October 1, 2021.jpg
IG - October 1, 2021-2.jpg
IG - October 1, 2021-3.jpg
IG - October 1, 2021-4.jpg
IG - October 1, 2021-5.jpg
IG - October 1, 2021-6.jpg
IG - October 1, 2021.jpg IG - October 1, 2021-2.jpg IG - October 1, 2021-3.jpg IG - October 1, 2021-4.jpg IG - October 1, 2021-5.jpg IG - October 1, 2021-6.jpg

Soccer Session

Joshua Hubbell October 1, 2021

A quick post as we have been busy preparing for a photo session for this weekend.


Here we were doing soccer photos at night. We did these at the tail end of blue hour so I could manipulate my settings to get a darker background. Truth be told, I was trying to get rid of the fence entirely, but I kept having to move things closer to it due the lens I choose to use, but I am happy its still there. What I am not happy with are the leaves which I should have taken more time to deal with but that’s how it goes – you learn from your mistakes and move forward.


For posing, whenever you have props you need to have your subject interact with them. Fortunately, she plays soccer, so this was now problem. As always, think giraffe – long neck, chin down slightly. Remember, if you do try this and don’t have hi-speed sync you will have to keep the shutter speed higher than 1/250 or you will get light sync.


This is a two-light setup, one light at the side with a long soft box and one light overhead with a snout. Originally, we did this in a garage, but I realized the solid floor really looked out of sync with the soccer theme, so we moved it outside a week later and did it again. I am happy we did that.


Overall, we got what we were going for here.


Keep an eye or two out for our next photo session.

Tags Soccer, Photography Tips
Comment

Why there was a gap in this business blog.

Joshua Hubbell September 29, 2021

Thanks to everyone who supported me through this.


This video is pretty much the only other thing I am going to do on this. It happened and now I want to move on as I intend for “survived kidney cancer” to be more of a footnote in my life rather than a defining event of my life. That doesn’t mean I will refuse questions on it, but don’t expect much else about it from me unless something comes up.


One other note, I don’t do videos that often but I am paying for video processing tools so I might as well get to using them. Hopefully the quality will improve as I learn more about videography and video processing tools.

Tags kidney cancer, video
Comment
IG - September 27, 2021 Post.jpg
IG - September 27, 2021 Post-2.jpg
IG - September 27, 2021 Post-4.jpg
IG - September 27, 2021 Post-3.jpg
IG - September 27, 2021 Post-5.jpg
IG - September 27, 2021 Post-6.jpg
IG - September 27, 2021 Post-7.jpg
IG - September 27, 2021 Post.jpg IG - September 27, 2021 Post-2.jpg IG - September 27, 2021 Post-4.jpg IG - September 27, 2021 Post-3.jpg IG - September 27, 2021 Post-5.jpg IG - September 27, 2021 Post-6.jpg IG - September 27, 2021 Post-7.jpg

Blue Hour

Joshua Hubbell September 27, 2021

Say you went too long on golden hour and ran out of time. You don’t have to pack it up and go home yet, you just have to understand what comes next: blue hour. Blue hour is that period between golden hour and night when the sun is down, but some light is still there, a sort of blue light that gets darker until it is night. This is blue hour, and you can photograph during it, sort of.


There are a few catches to blue hour with the first being that the light will give your photos a blueish or cold look to them. Next, you need to understand that blue hour in the morning, things will start dark and only get brighter and blue hour in the evening things will start bright and only get darker – the time it takes depends on the time of year. Finally, the light tends to be weaker during blue hour, so expect to open your aperture up wide or at least have a lens that can do so.


If all else fails, you can always go black and white with photos taken during this time.


For these photos, this toddler wanted me to photograph her as she danced around with her fairy wings. It was getting dark out but as I always say – the best time to do photography work with children is when they want pictures taken of them. So, we went out and took a few photos.

Tags Photography Tips, Blue Hour
Comment
September 19, 2021 Vivian and Bella-7.jpg
September 19, 2021 Vivian and Bella-8.jpg
September 19, 2021 Vivian and Bella-9.jpg
September 19, 2021 Vivian and Bella-11.jpg
September 19, 2021 Vivian and Bella-13.jpg
September 19, 2021 Vivian and Bella-14.jpg
September 19, 2021 Vivian and Bella-7.jpg September 19, 2021 Vivian and Bella-8.jpg September 19, 2021 Vivian and Bella-9.jpg September 19, 2021 Vivian and Bella-11.jpg September 19, 2021 Vivian and Bella-13.jpg September 19, 2021 Vivian and Bella-14.jpg

Reading isn’t enough, you need to experiment with your craft to improve at it.

Joshua Hubbell September 24, 2021

I tell people all the time that the first “trick” to being a good photographer is to go out into the world and do photography. The second “trick” is to take everything you’ve read or learned about photography and experiment with it.


If you don’t try what you learn and experiment with it, you will never come to understand the nuance of it. For example, speedlights are not exactly like strobes, but if you practice with them enough you can mimic the effects of a strobe with a speedlight. The same goes for pretty much every other piece of photography equipment. The different brands of lenses out there are similar in function, but they are not duplicates. There are minor differences that you will want to learn about.


Furthermore, experimentation can really help with inspiration in two ways:


1) It helps you understand how to better put the pieces together once inspiration hits. Afterall, if you already learned how to utilize that light technique or that focus technique your inspiration calls for, you aren’t suddenly wasting time, or worse, muddying the vision as you struggle to make that technique appear. You already know how to make those pieces fit so they slide right in to form those parts of the picture.


2) Oftentimes experimentation can result in being the inspiration itself. I can’t tell you how many times I’ve worked with my lights and said to myself “hey, this setup would really work well with this idea!” and suddenly a whole other session is being planned.


And this applies to any craft, if you want to succeed, you need to go beyond just reading – you need to experiment with what you learned about.


These photos were from an experimentation session. I have two lights, one strobe off to the side with a long softbox to bring out the subject’s face and a speedlight overhead to get that stage light look. I wasn’t even planning to photograph the toddler, but she came out when I was finished setting up and I just went with it. I got a few ideas from this session so I’m glad I went with it.

Tags Photography Tips
Comment
September 22, 2021 Post.jpg
September 22, 2021 Post-2.jpg
September 22, 2021 Post-3.jpg
September 22, 2021 Post-4.jpg
September 22, 2021 Post-5.jpg
September 22, 2021 Post-6.jpg
September 22, 2021 Post-7.jpg
September 22, 2021 Post.jpg September 22, 2021 Post-2.jpg September 22, 2021 Post-3.jpg September 22, 2021 Post-4.jpg September 22, 2021 Post-5.jpg September 22, 2021 Post-6.jpg September 22, 2021 Post-7.jpg

Photographing a Sports Event… Without Photographing the Sports Event.

Joshua Hubbell September 22, 2021

I was at a middle school soccer game yesterday. I was there primarily to photograph my niece while she was on the field and I did that, however I am not a fan of posting pictures of other people’s kids so you won’t see them. But this is a good opportunity to give a few pointers about sports events when you can’t really photograph them.


The thing about sporting events is that they do fall into a category where I think special gear is needed. For example, if you are doing anything that has a large field you are going to want to use a telephoto lens that can cover that distance. Furthermore, the gear you need will be tailored to the sport so oftentimes you won’t be getting that perfect shot you want.


But you aren’t hosed for photography if you don’t have the gear for it. When you are at a sporting event and feel the desire to photograph simply turn around. There is always something going on in the audience that you can photograph. In this case, my other nieces were up to stuff. One was running back and forth and looking around. This was perfect opportunity to get her picture. The other was up on her mom’s shoulder – a great photo chance. Failing that you can always get the crowd cheering or, I guess, jeering.


The point is, sporting events are great because there are pretty much always other stories playing out nearby if you can’t photograph the story you want due to gear issues. That stated, strangers generally dislike random people photographing them and not all sporting arenas/locations allow you to do that sort of photography so be aware of the rules and laws involved.

Tags Photography Tips, Sports Photography
Comment
September 20, 2021 Post.jpg
September 20, 2021 Post-2.jpg
September 20, 2021 Post-3.jpg
September 20, 2021 Post-4.jpg
September 20, 2021 Post-5.jpg
September 20, 2021 Post-6.jpg
September 20, 2021 Post.jpg September 20, 2021 Post-2.jpg September 20, 2021 Post-3.jpg September 20, 2021 Post-4.jpg September 20, 2021 Post-5.jpg September 20, 2021 Post-6.jpg

3 Speedlights Work

Joshua Hubbell September 20, 2021

Okay, I am trying to do a write up on a wonderful wedding I shot before my surgery, but I keep going too long with it. Apparently, I have a lot to say. Stay tuned as I will figure out how to get it all down to size that works for a business blog / social media post. In the meantime, here is this:


I volunteered my photography services to a school for their theatre productions this year. I’ve mentioned before this is my favorite type of photography because it always pushes me to my creative limits while the performance, special effects, costumes, direction, and tech operations usually inspire my creativity in some form or another for the photo sessions I do. So not only do I get the satisfaction of helping others, I also get creative boost from it and very good photography practice in.


Anyway, tech rehearsal is something I am hoping to start with. For one, well tech crew generally don’t like to be seen, it does give them visual proof that they were in fact there and they are an essential part to a theatre production and deserve the credit. But aside from that, you are thrown into very challenging lighting situations however if you can solve those you can get some interesting photos.


Usually, I do tech rehearsals there are two types of photos taking place:

1) Headshots for the credits board or screen.

2) Tech crew at work photos.

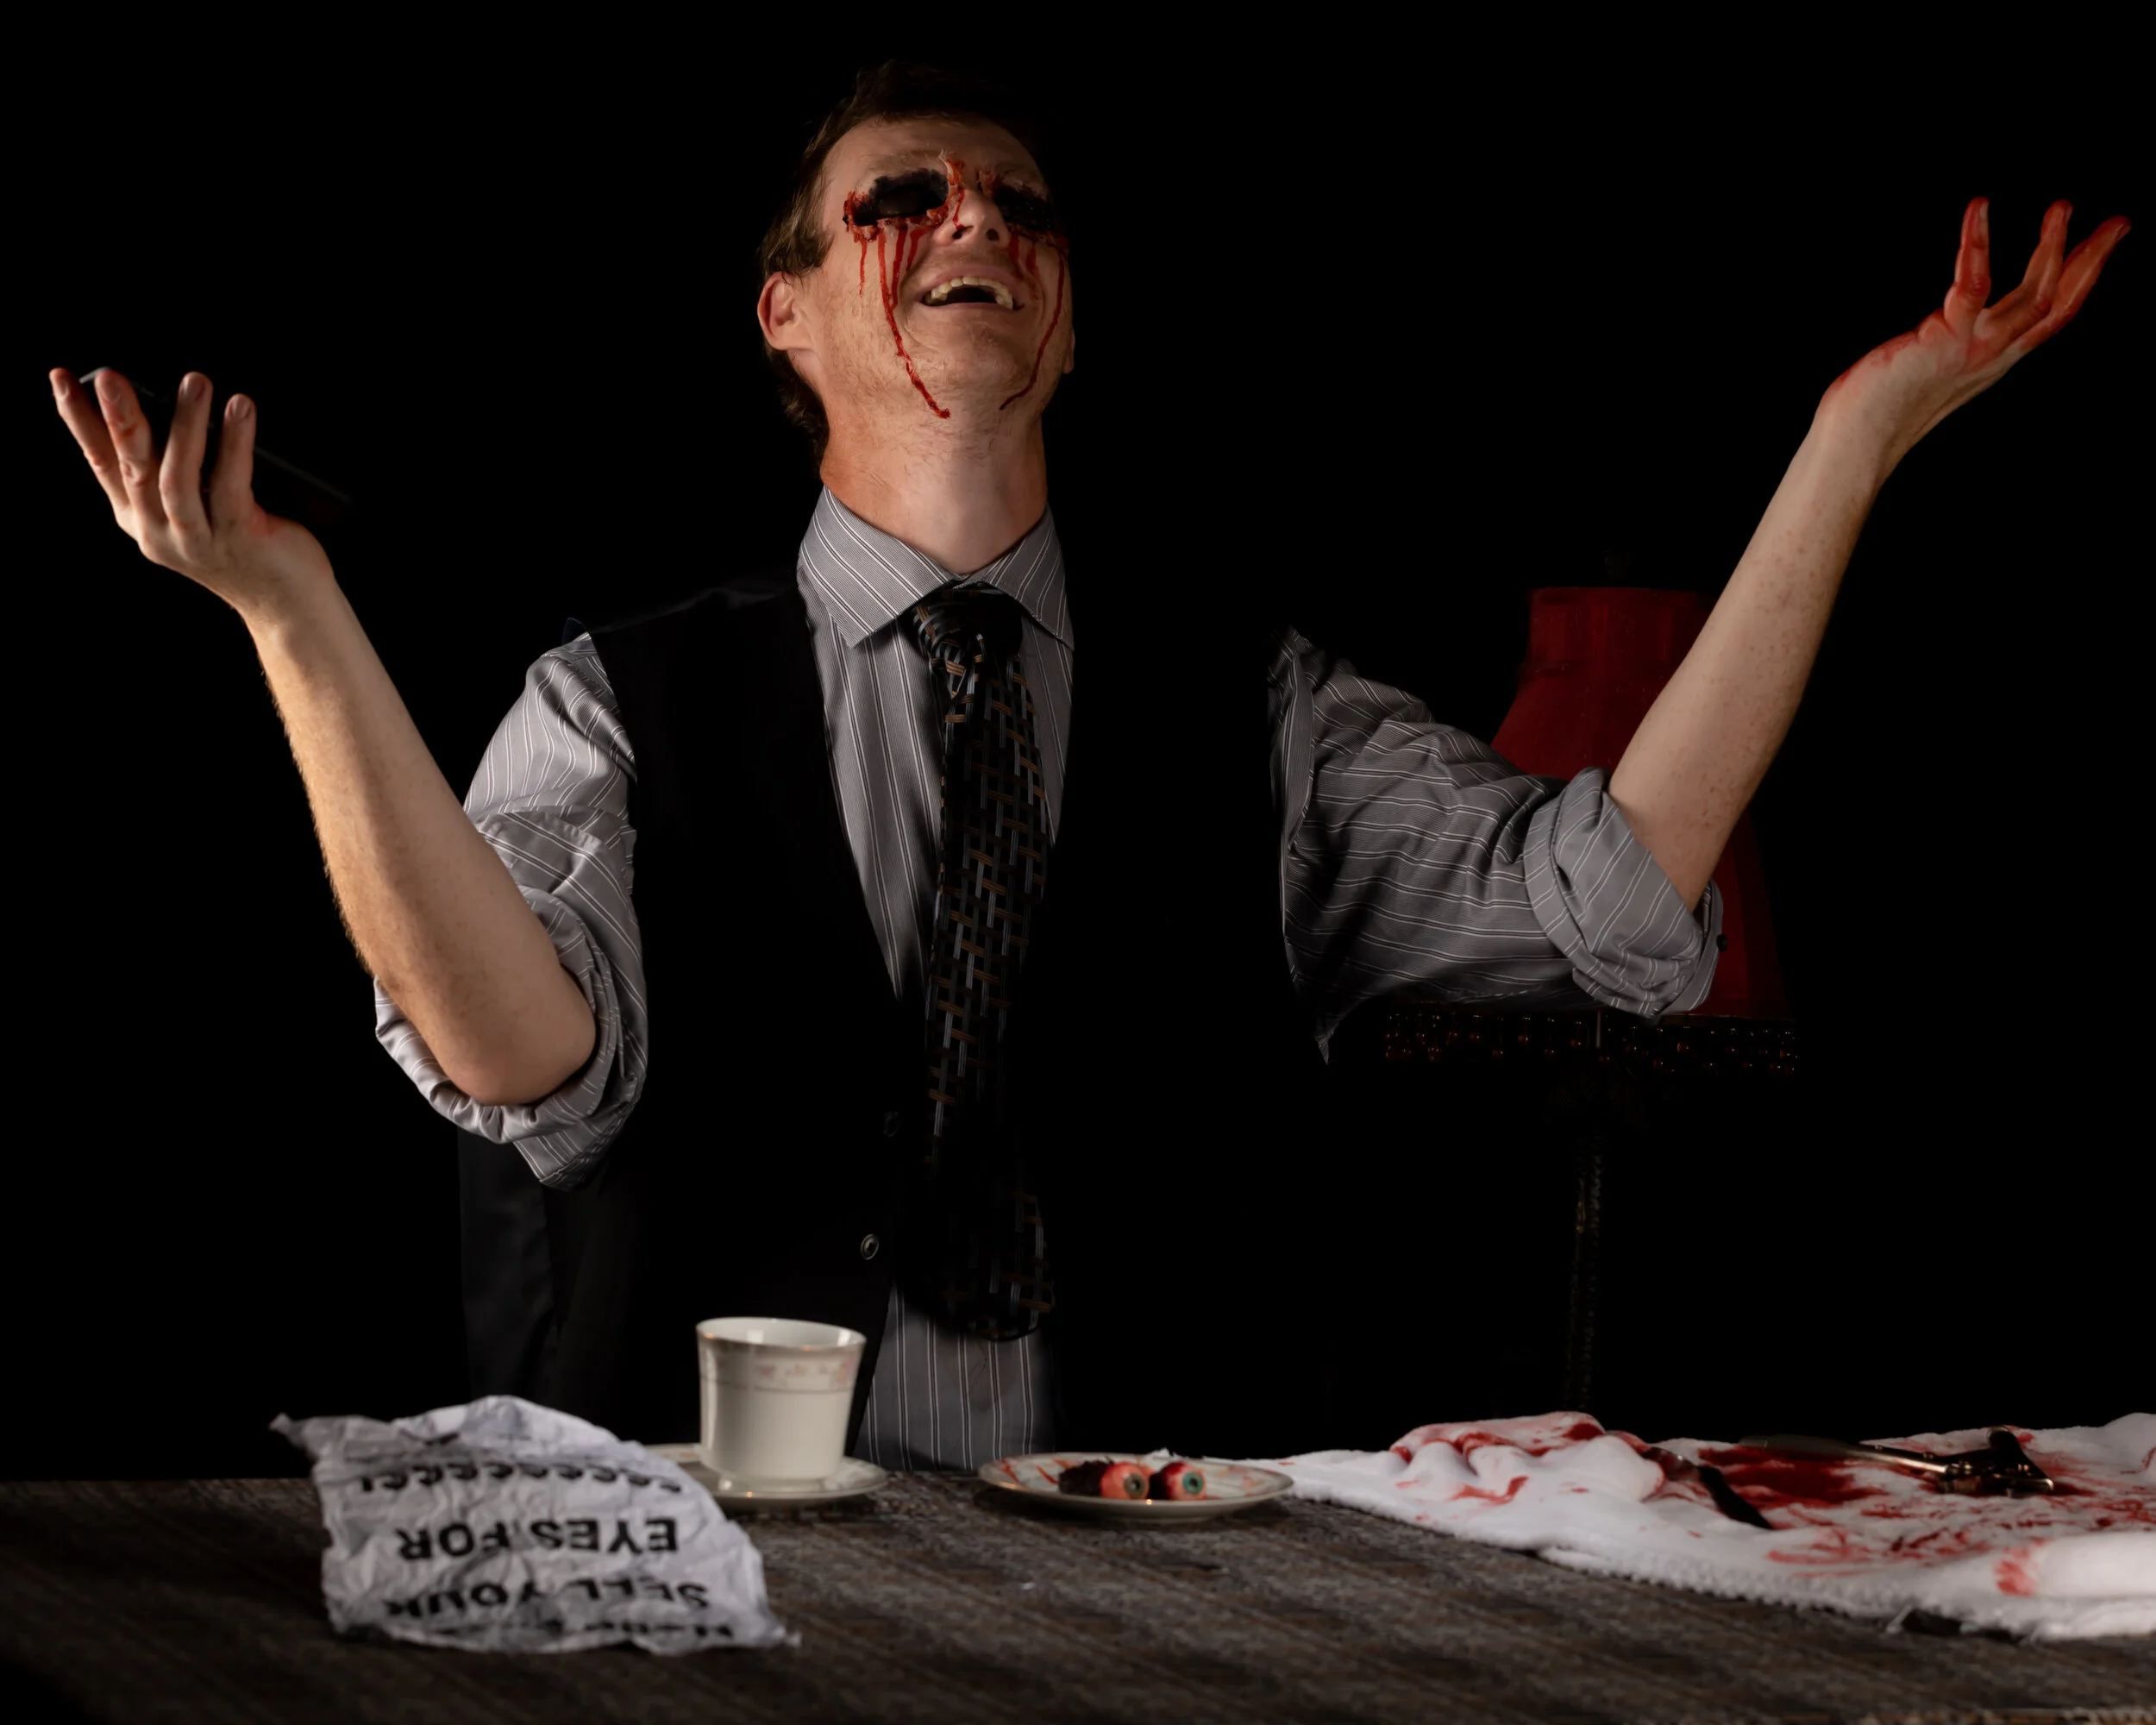
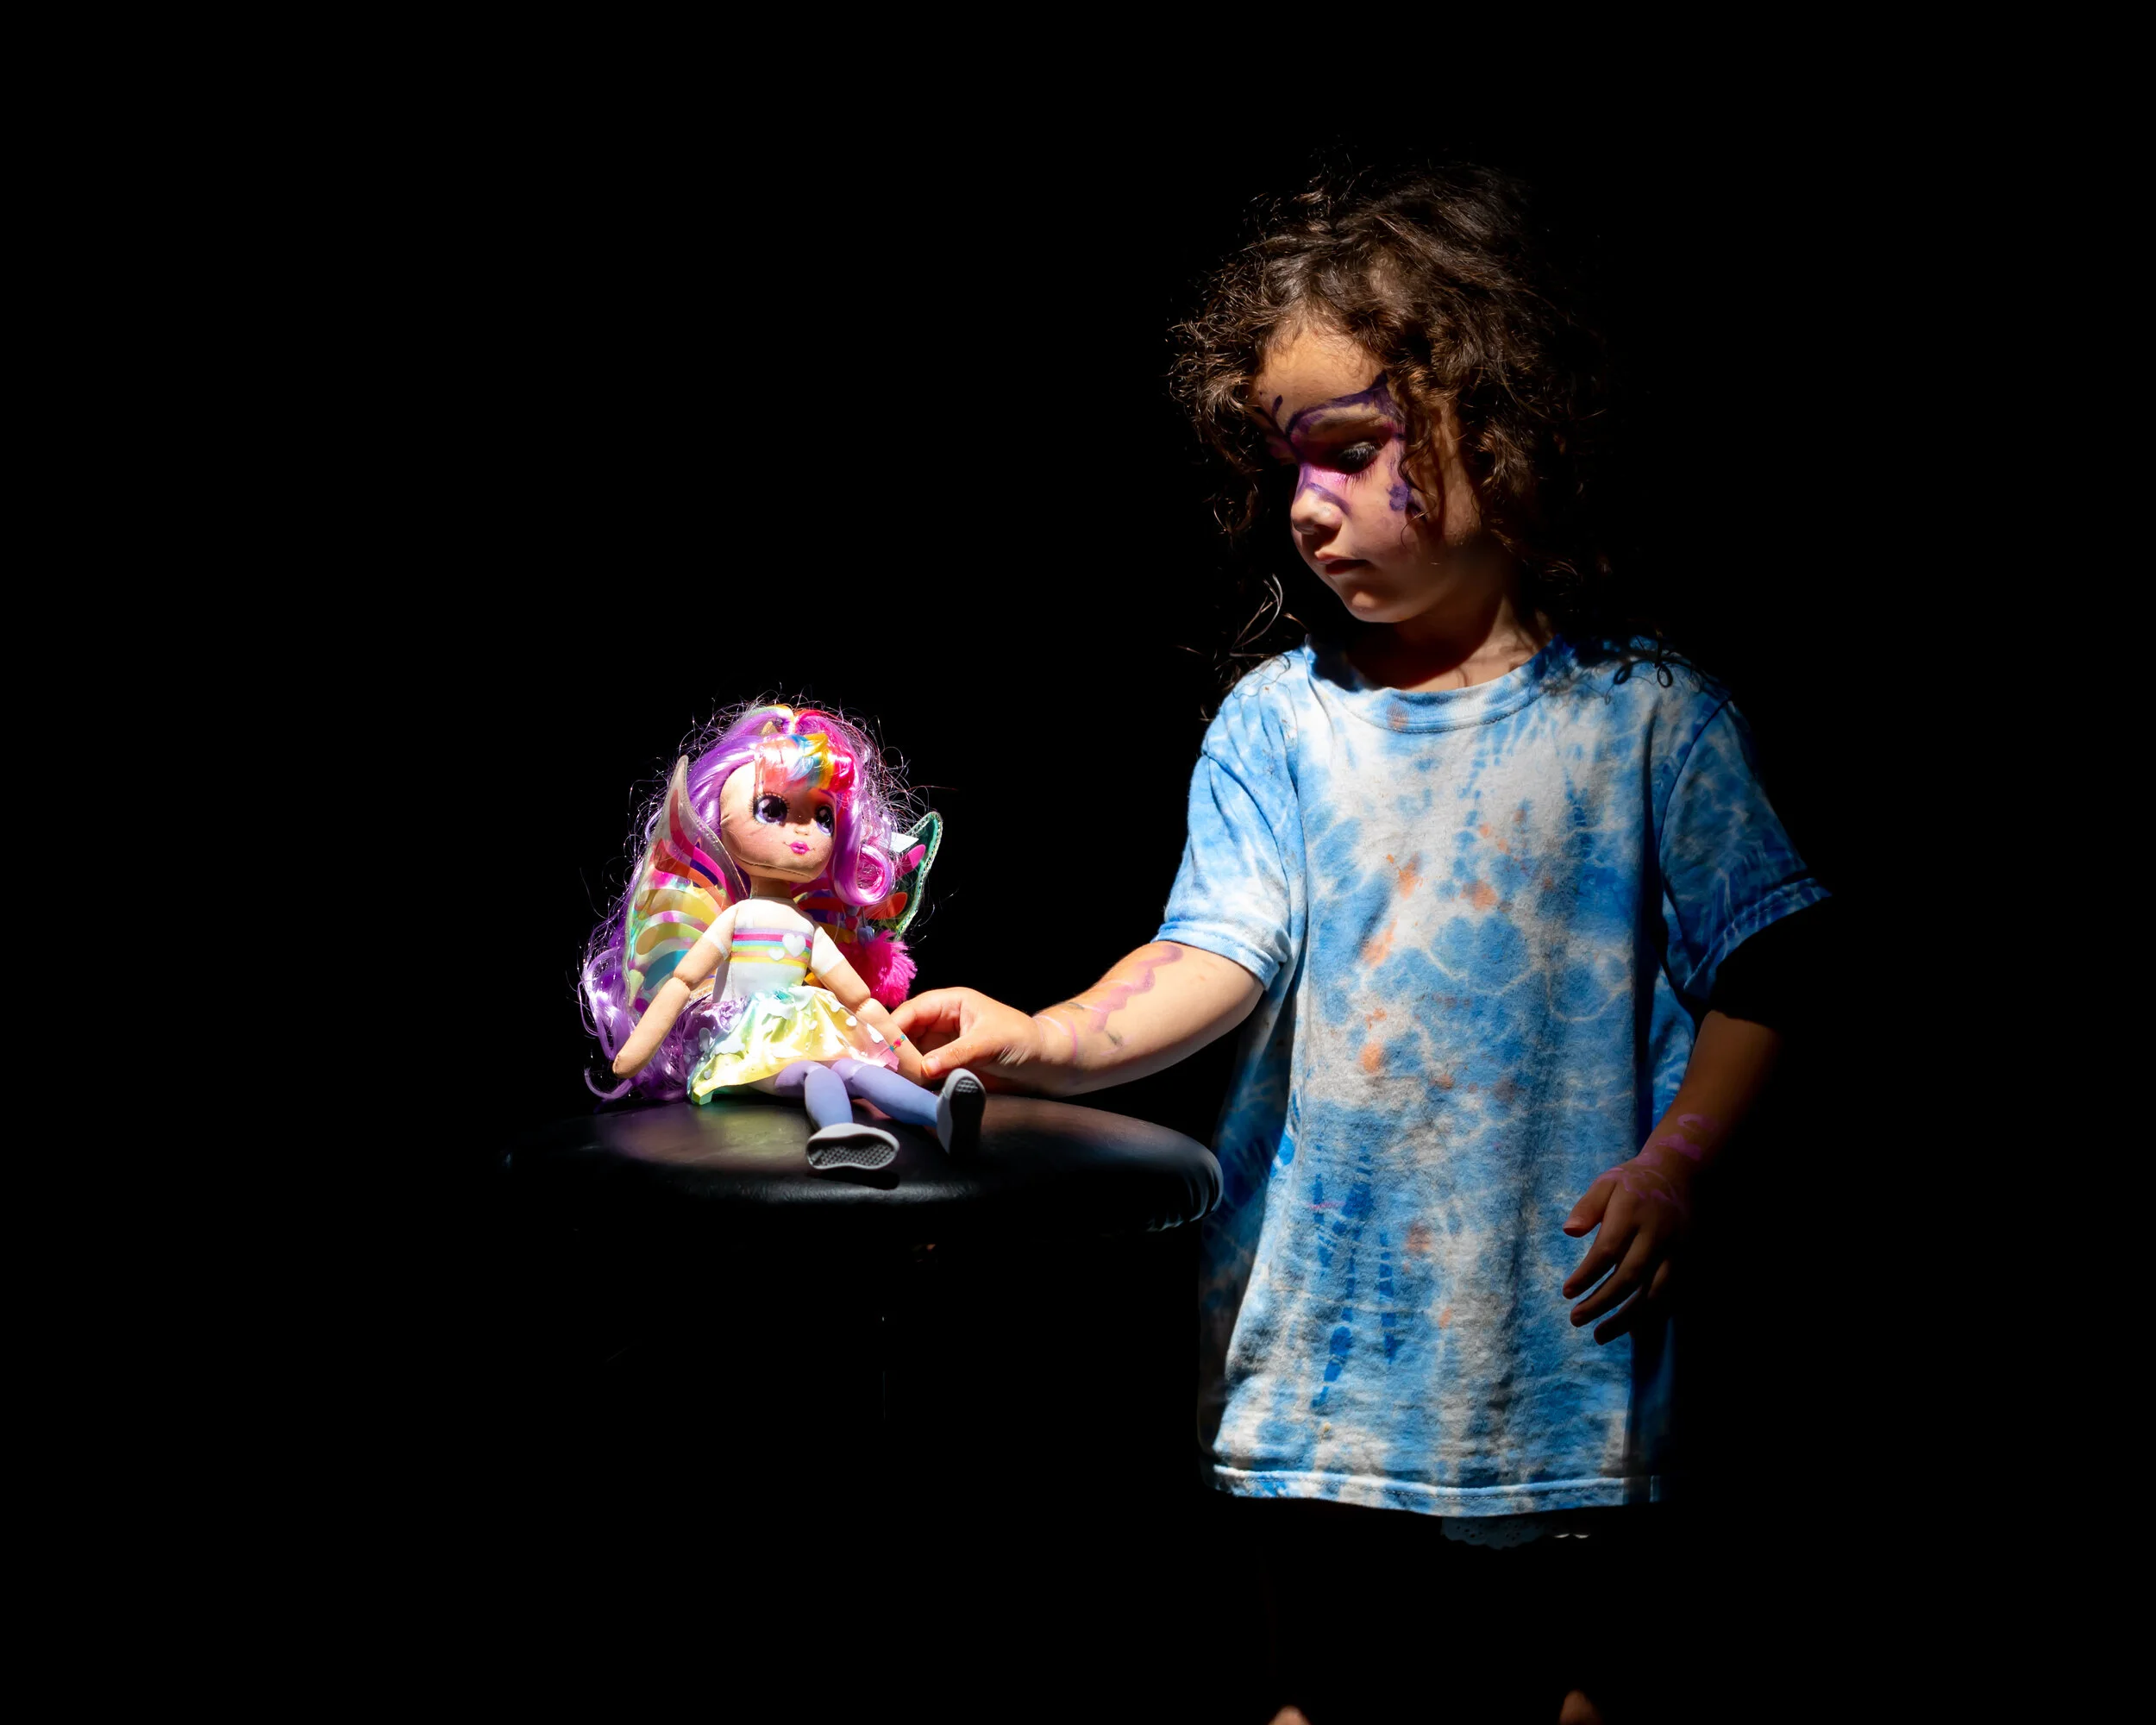
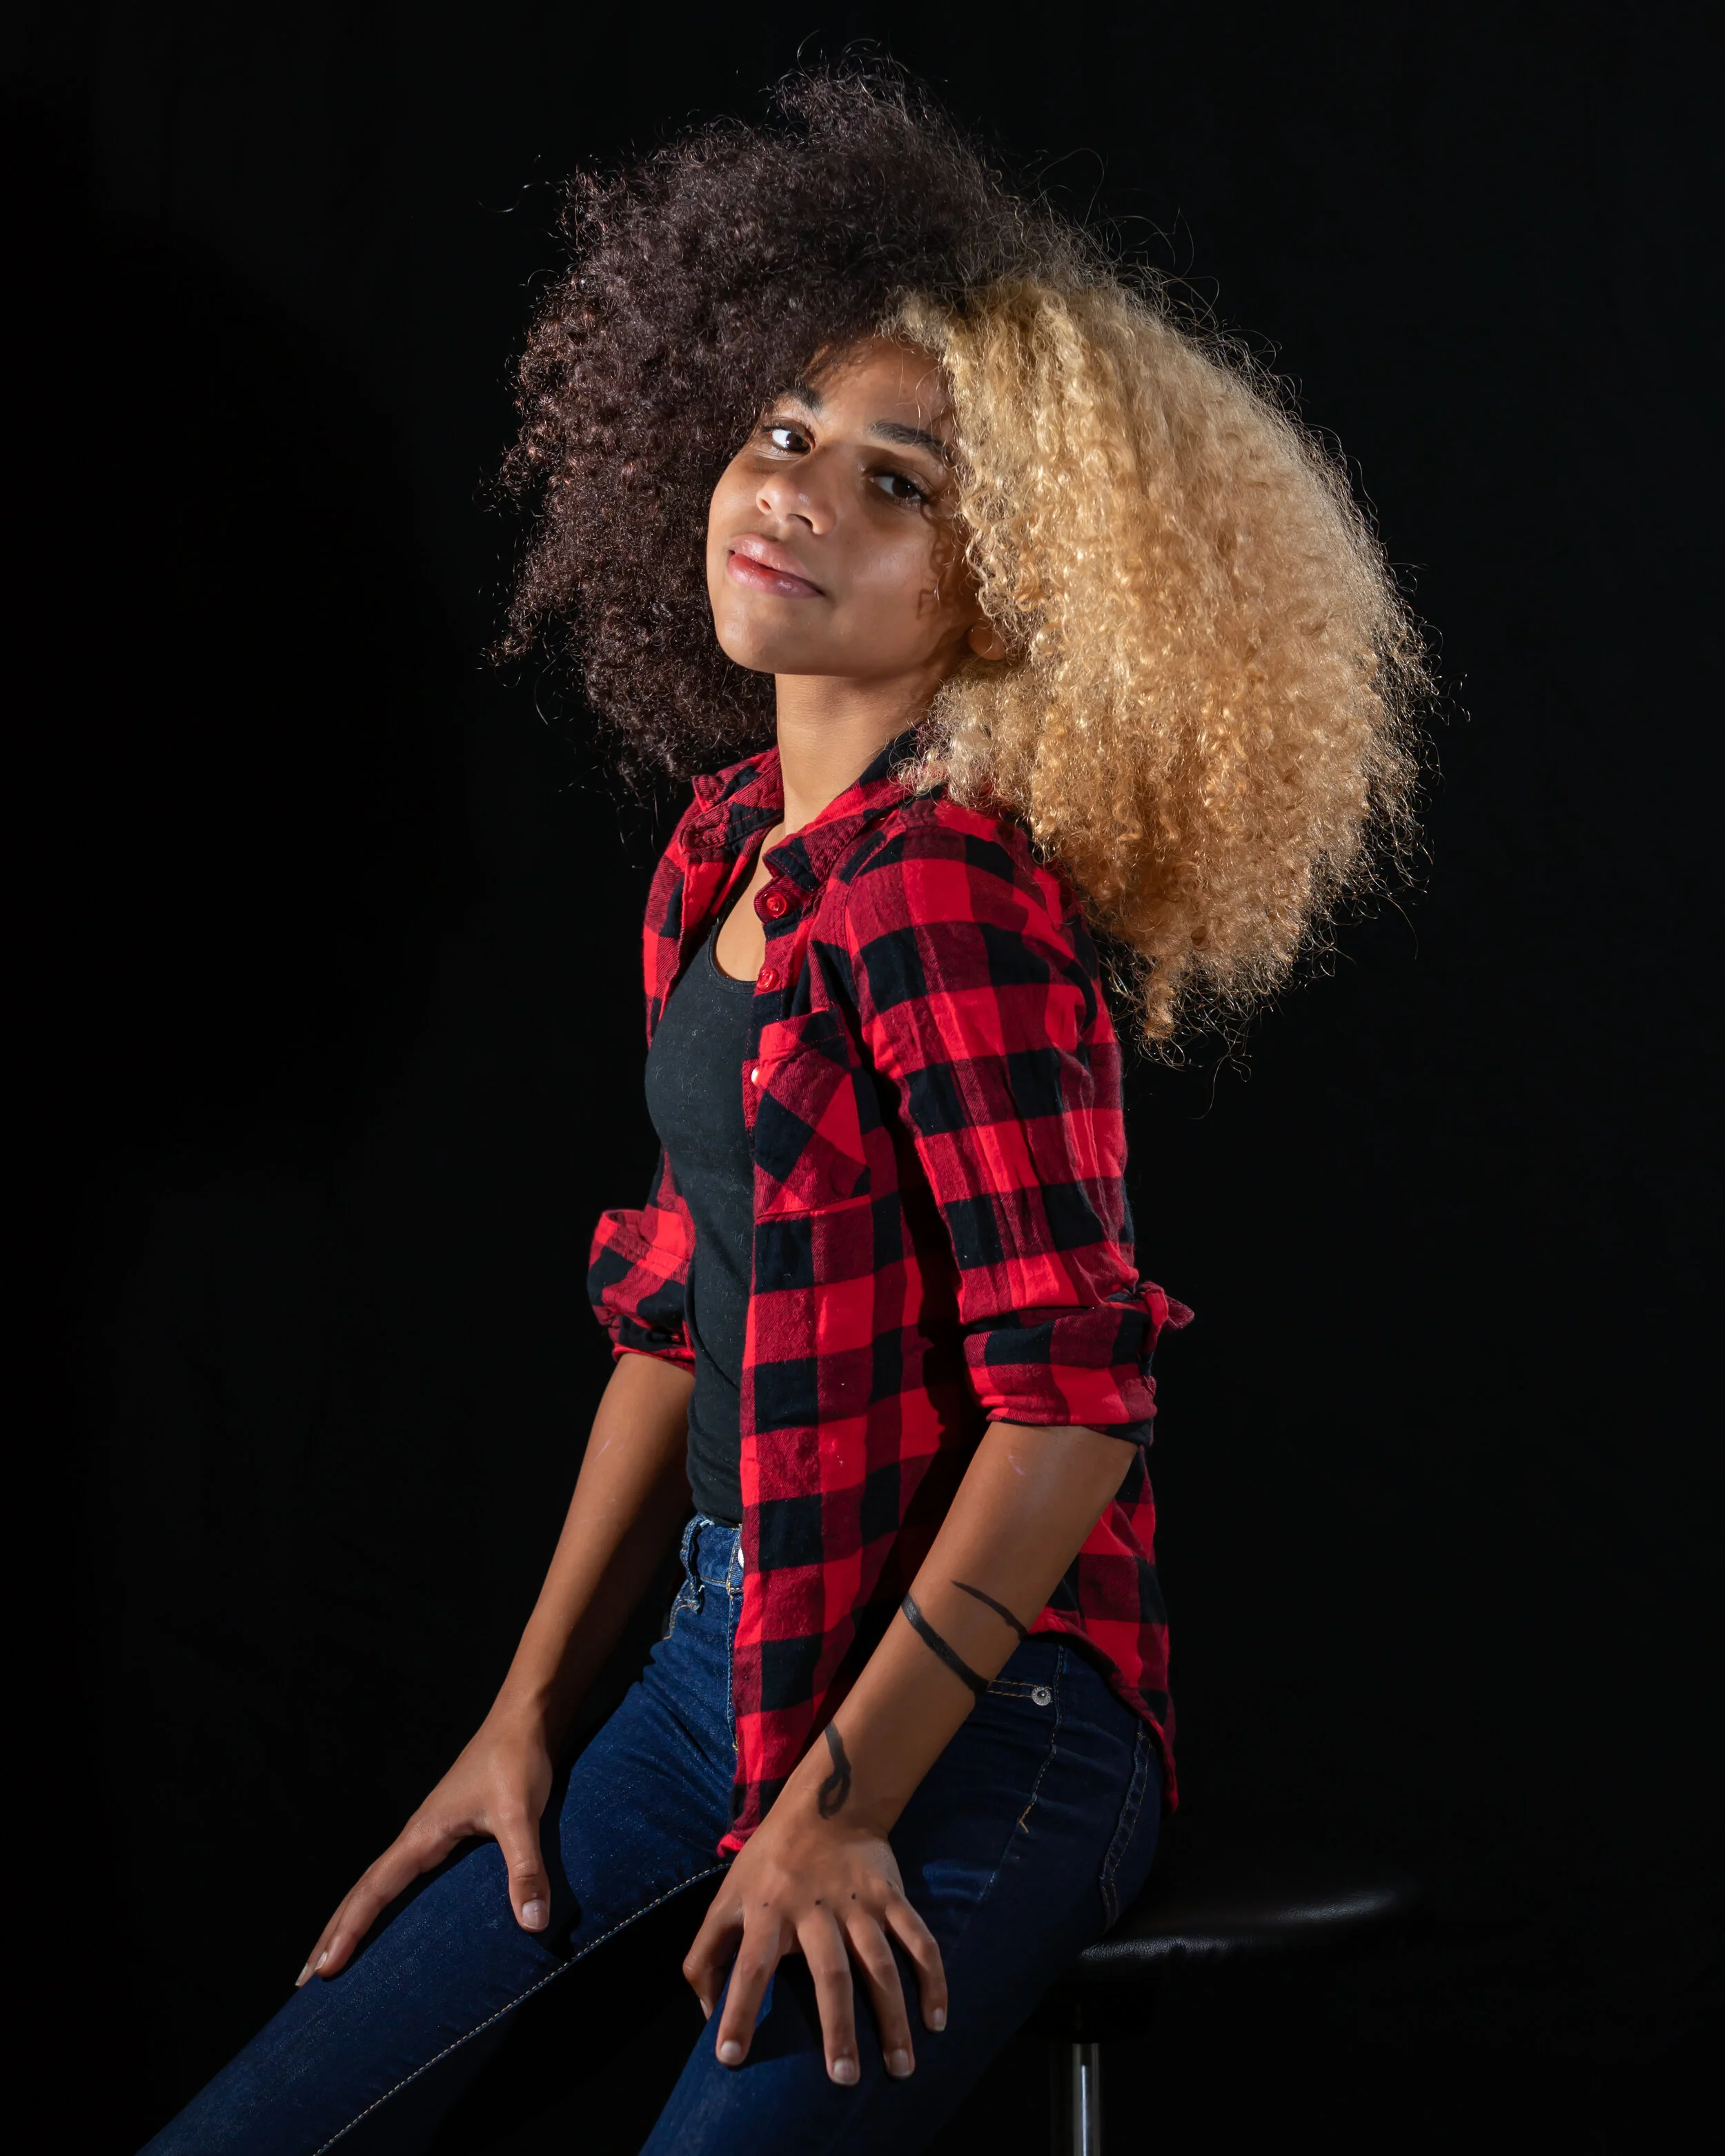
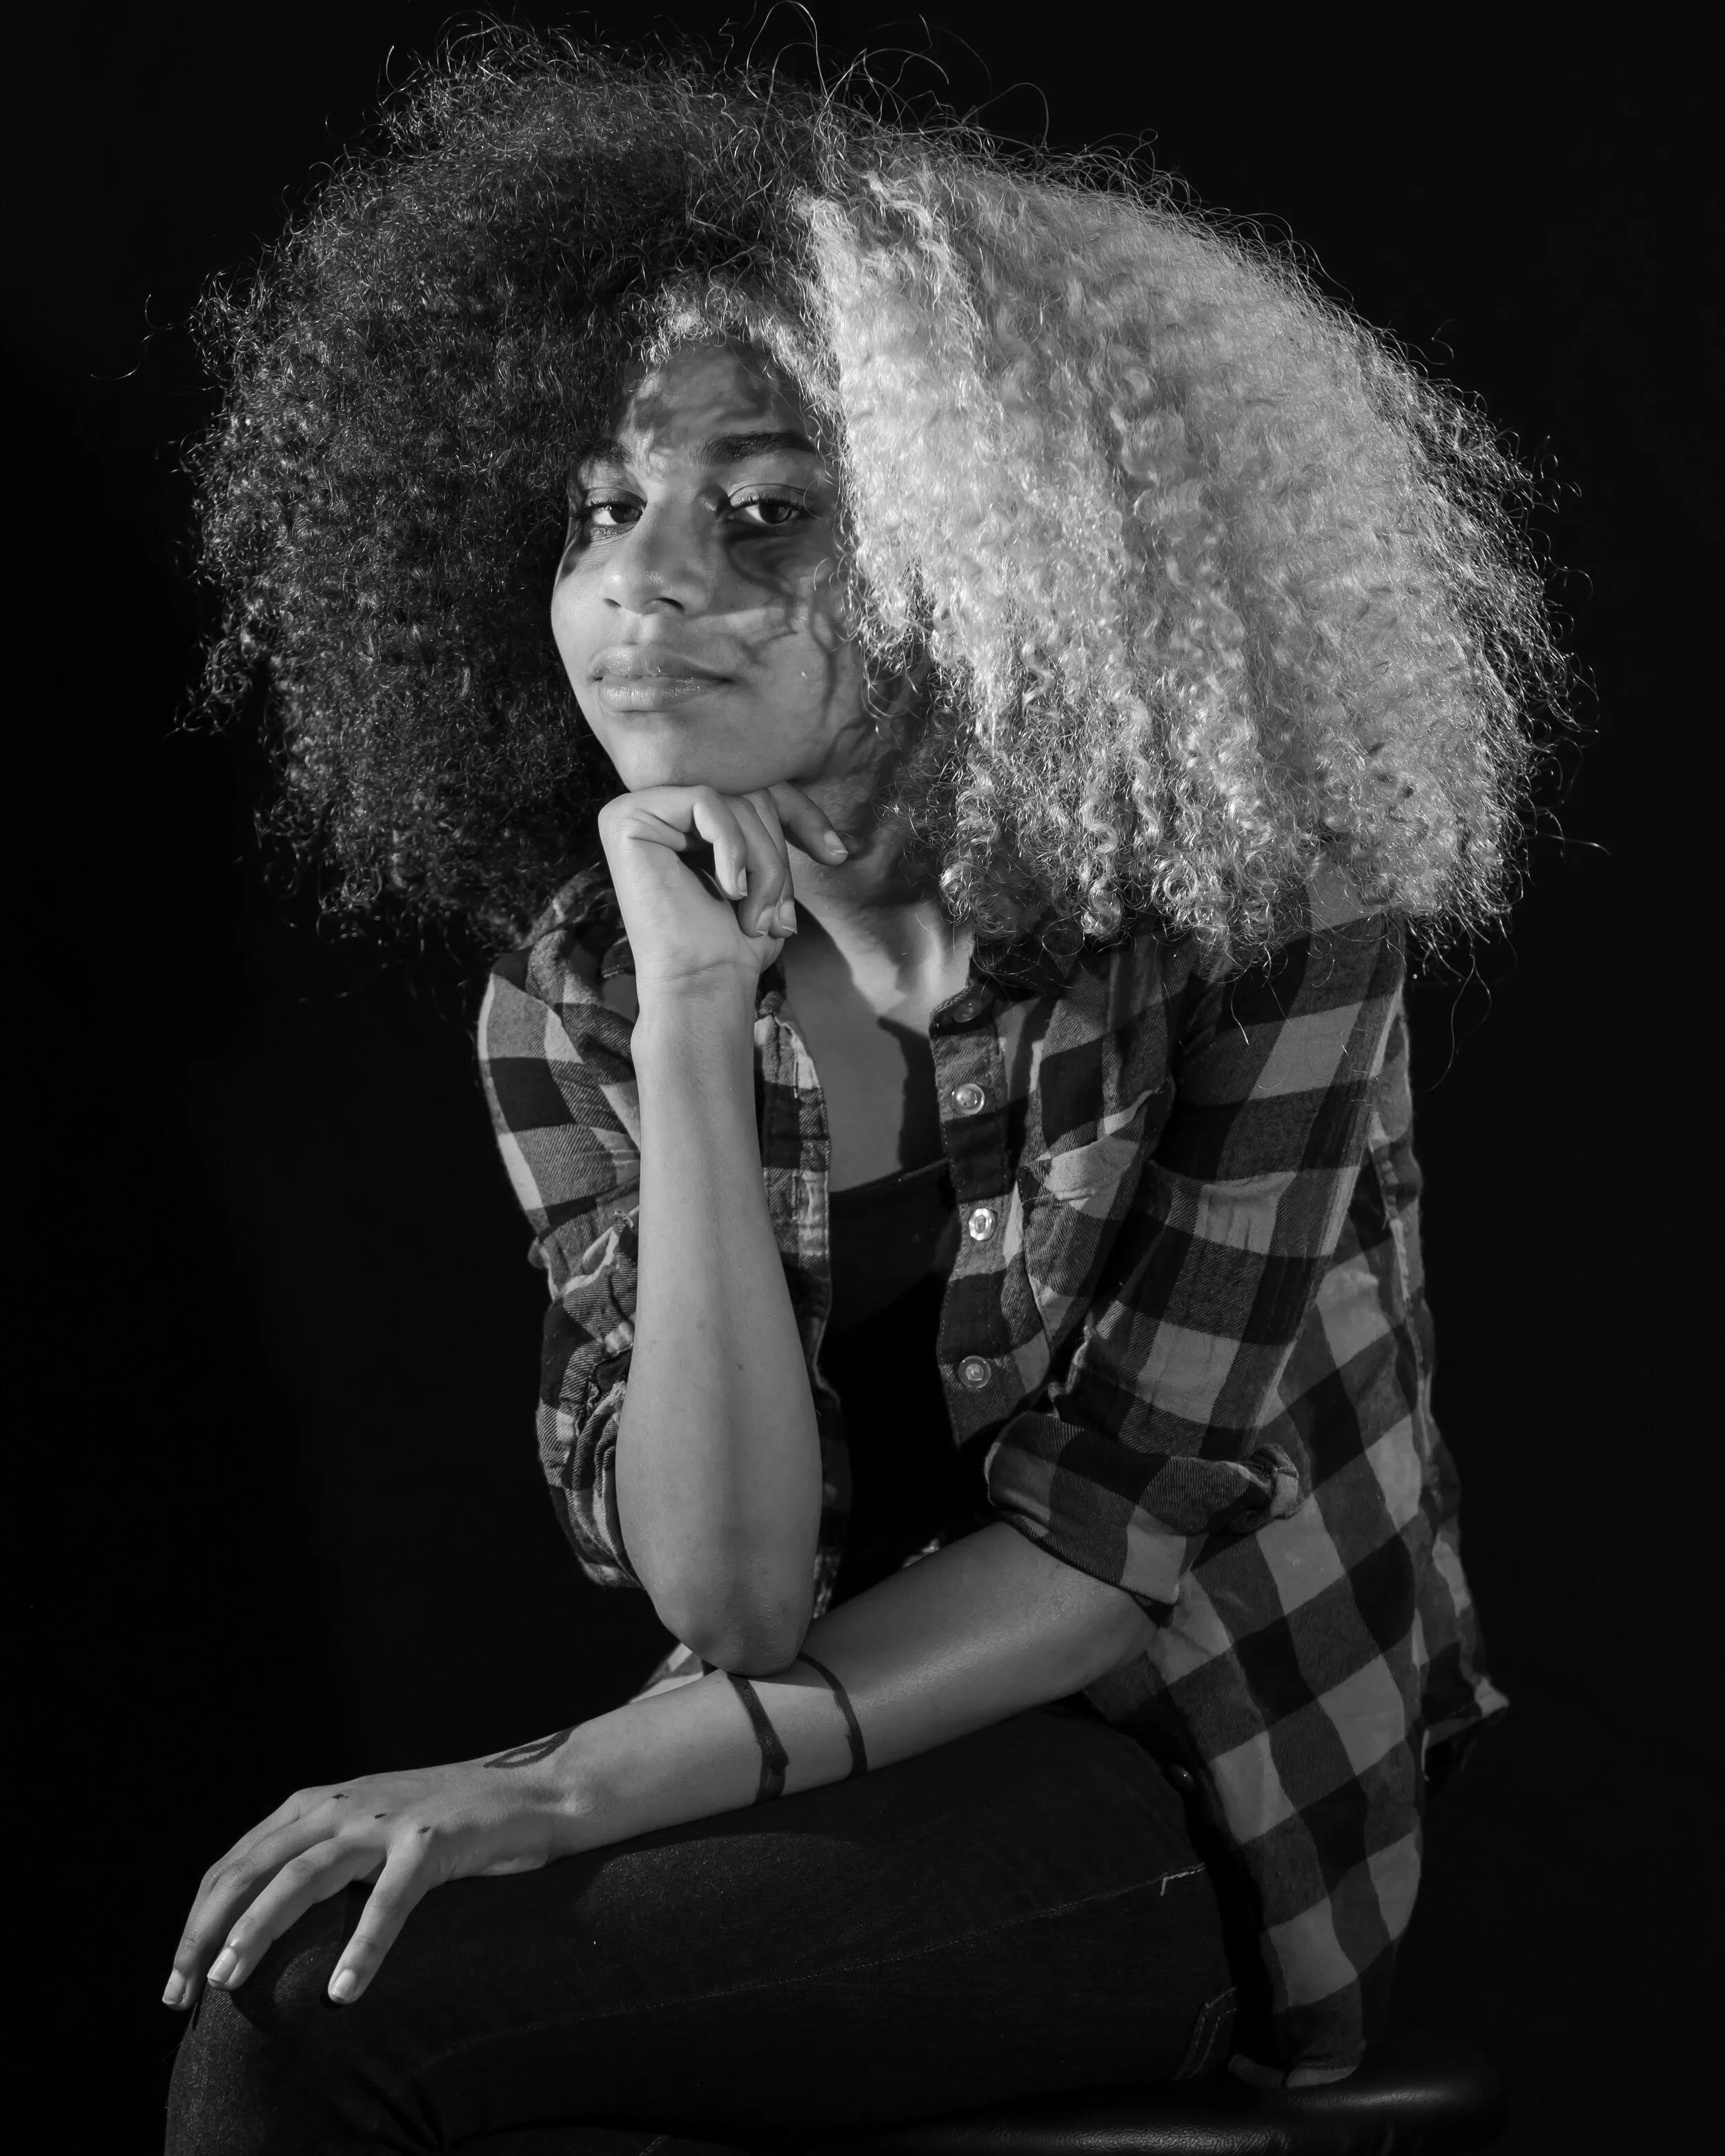
For the photos here, my model and I were testing with a 3 speedlight setup. Tech crew generally must start sooner than performers so getting set up quick and getting their headshots out of the way sooner goes a long way towards helping them. Also, I try to have a variation of poses. School kids working on a production want to be taken seriously, and tech crew is serious work, so I try to approach tech crew photos like I would any professional. Besides, people working always works good and people working with lights or behind a sound board always offers up something unique.


Also, it helps to run through lights since it’s been a little while since I last worked with them.

Tags photography tips, theatre photography
Comment
113A4670-Edit.jpg
September 11, 2021 Kinder Farm Park Vivian and Bella BW-5.jpg
September 11, 2021 Kinder Farm Park Vivian and Bella-7.jpg
September 11, 2021 Kinder Farm Park Vivian and Bella-10.jpg
September 11, 2021 Kinder Farm Park Vivian and Bella BW-11.jpg
September 11, 2021 Kinder Farm Park Vivian and Bella-15.jpg
113A4670-Edit.jpg September 11, 2021 Kinder Farm Park Vivian and Bella BW-5.jpg September 11, 2021 Kinder Farm Park Vivian and Bella-7.jpg September 11, 2021 Kinder Farm Park Vivian and Bella-10.jpg September 11, 2021 Kinder Farm Park Vivian and Bella BW-11.jpg September 11, 2021 Kinder Farm Park Vivian and Bella-15.jpg

Time is the most valuable asset you have.

Joshua Hubbell September 16, 2021

Slightly shorter post. I was messing around with a polarized lens filter (mainly because I made a mistake and ordered a polarized lens filter as opposed to an ND filter). We were at Kinder Farm Park for these and yes, my youngest niece did do her own lipstick, how could you tell?


Anyway, I wanted to touch on editing in photoshop. It is always an option and is a very versatile tool. For example, I edited out some sun flare on a few of these photos. But there are two catches to this:


1) Photoshop is only as useful as you know how to use it and know how to do so effectively (and there is always more to know about it).

2) It takes time to do photoshop edits.


I think that’s something a lot of photographers or even small businesspeople in general or even just regular people forget: time is the most valuable asset and the easiest squandered asset you will ever have. You can invest money in something and get back more money in return, you can’t invest time in something and get back more time in return. So photoshop edits need to be balanced within reason.


Or better yet, try to get the photo done well enough so you don’t need to do much in photoshop at all.

Comment
July 27, 2021 Gus Gus Birthday-2.jpg
July 27, 2021 Gus Gus Birthday-6.jpg
July 27, 2021 Gus Gus Birthday-9.jpg
July 27, 2021 Gus Gus Birthday-11.jpg
July 27, 2021 Gus Gus Birthday-13.jpg
July 27, 2021 Gus Gus Birthday-15.jpg
July 27, 2021 Gus Gus Birthday-2.jpg July 27, 2021 Gus Gus Birthday-6.jpg July 27, 2021 Gus Gus Birthday-9.jpg July 27, 2021 Gus Gus Birthday-11.jpg July 27, 2021 Gus Gus Birthday-13.jpg July 27, 2021 Gus Gus Birthday-15.jpg

Dog Birthday Party

Joshua Hubbell September 14, 2021

I took these photos back in July when I was still relatively early in my recovery from surgery, but it was the dog’s birthday and the photos needed to be made.

When working with dogs for a dog birthday party: you will need help. I had an assistant to help get looks and the toddler on set also unintentionally helped get attention. When working with dogs in this sort of scene try and treat it like a toddler session and just sort of let things happen. However, if the dogs know basic sit and stay commands you can throw in some anticipation shots. Finally, do not forget the treat eating shot. Some dogs eat the cake piece by piece while this birthday boy ate it all in one chunk (followed by confusion of an empty plate).

Two other things – make sure you make a dog friendly cake. No photo session is worth poisoning your dog over. Second, and as always, be nice to your dog and keep the photoshoot friendly and fun. Your dogs are doing their best to make you happy and they have no idea what you are trying to do so do not get frustrated with them.

#petphotography #dogbirthdayparty #annearundelphotographer #marylandphotographer

Tags Pet Photography, Dog Birthday Party, Photography Tips
Comment
August 31, 2021 Vivian at the pond.jpg
August 31, 2021 Vivian at the pond BW-3.jpg
August 31, 2021 Vivian at the pond-4.jpg
August 31, 2021 Vivian at the pond-9.jpg
August 31, 2021 Vivian at the pond-11.jpg
August 31, 2021 Vivian at the pond BW-13.jpg
August 31, 2021 Vivian at the pond.jpg August 31, 2021 Vivian at the pond BW-3.jpg August 31, 2021 Vivian at the pond-4.jpg August 31, 2021 Vivian at the pond-9.jpg August 31, 2021 Vivian at the pond-11.jpg August 31, 2021 Vivian at the pond BW-13.jpg

Toddlers, Cloudy Days, and Flowers.

Joshua Hubbell September 9, 2021

As always, when working with toddlers, if they aren’t in a smiling mood and all your tricks aren’t working then just go with whatever mood they are in. Besides, toddlers don’t just come in “silly and funny” personality type, they can be moody and they can be serious and other personalities as well – the trick is to not make them cardboard cutouts by forcing a look they just aren’t into at the moment.


Anyway, these photos were taken on a cloudy day and something I will repeat every time I write about cloudy day photography is that the sun acts as a giant softbox and disperses the light evenly. This tends to mute colors and make for great black and white photos, that doesn’t mean you have to write off color photos. Since you know the colors are likely to appear muted, just have your subjects dress in bright solid colors. This will help the eye go straight to the subject you are photographing. If you throw in some leading lines, you can have even more eye direction going on and ensure your subject is the center of attention in your photography work.


Finally, she is holding a flower we found out in the woods – always make sure you look up what plants are out there. Not every flower is safe to touch and some carry toxins that may require handwashing or outright avoidance. You have a phone, look things up. No photograph is worth dying for.

Tags photography tips, cloudy day, toddler
Comment
September 4, 2021 Bella at Fort Smallwood Park-2.jpg
September 4, 2021 Bella at Fort Smallwood Park-30.jpg
September 4, 2021 Bella at Fort Smallwood Park BW-17.jpg
September 4, 2021 Bella at Fort Smallwood Park-8.jpg
September 4, 2021 Bella at Fort Smallwood Park-26.jpg
September 4, 2021 Bella at Fort Smallwood Park BW-30.jpg
September 4, 2021 Bella at Fort Smallwood Park-2.jpg September 4, 2021 Bella at Fort Smallwood Park-30.jpg September 4, 2021 Bella at Fort Smallwood Park BW-17.jpg September 4, 2021 Bella at Fort Smallwood Park-8.jpg September 4, 2021 Bella at Fort Smallwood Park-26.jpg September 4, 2021 Bella at Fort Smallwood Park BW-30.jpg

Time to get back to work.

Joshua Hubbell September 7, 2021

Sorry about that break, I had kidney cancer I had to get sorted out. After getting a kidney removed, it’s all good now and it’s time to get back to work. I plan to make a video talking about that a bit more – just need to find my mic or order a new one.


In the meantime, here we are again at a public park, Fort Smallwood to be exact. I wanted to do a few shots during golden hour on the pier, but it was full of fishermen. Can’t blame them as it was a nice sunny day. As I always say, photography is about being flexible, so we worked around it. The other catch is that half the park, the beach half, is closed for restorations until 2022.


So, we walked around the grassy area and did what we could, which was actually quite a bit. In any given location there is a plenty to work with, you just have to be willing to look around, find it, and be open to it.


Anyway, the great thing about golden hour is that it gives you a lot of options. Just want a background covered with golden light, find some shade with a sunny background. Want a nice glowy haze around your subject? Get that sun in the shot a little. Or you can just have your subject get in the direction of the sun to get a golden glow on them. Just be sure to have them look down or away from the sun a bit to avoid sun squint.


The point is, during golden hour the sun gives you a lot of options to try for, you just have to take the time to understand how the sun’s location will affect how your subject appears. Experimentation is the best way to get a good grasp on this in my opinion.

Tags photography tips, golden hour
Comment
IG - May 27, 2021 Post-5.jpg
IG - May 27, 2021 Post-4.jpg
IG - May 27, 2021 Post-3.jpg
IG - May 27, 2021 Post-8.jpg
IG - May 27, 2021 Post-7.jpg
IG - May 27, 2021 Post-5.jpg IG - May 27, 2021 Post-4.jpg IG - May 27, 2021 Post-3.jpg IG - May 27, 2021 Post-8.jpg IG - May 27, 2021 Post-7.jpg

More bubbles!

Joshua Hubbell May 27, 2021

This was going to be a post about practicing running jump photos to prep for a set of dance photo sessions I have coming up, but a certain toddler got in the way – literally. So, we rolled it into another evening photo session with bubbles. When working with toddlers, I suggest giving them something to do. In this case I had a bubble machine. I mean a legit professional grade bubble machine that fires out hundreds of bubbles a minute. They are cheaper than you would think.


Anyway, I got her running and jumping through the bubbles and she was having a blast. It is during this time I got some pretty good candid shots of her. And that’s the same lesson I am going to keep repeating over and over and over again – we humans look great doing things, and we look happy doing fun things so have your subject do both.


Thankfully, events like a party or a wedding there tend to be planned activities so this part is already covered you just have to figure out where you can and can’t be. When I am working with a toddler with bubble machine, I can be pretty much anywhere I want. When I am photographing a birthday party, I will get a lot of frowns if I get right up in the face of the birthday person when they are about to blow out the candles on their cake.

Comment
IG - May 25, 2021 Post.jpg
IG - May 25, 2021 Post-2.jpg

Short quick post.

Joshua Hubbell May 26, 2021

I am going to keep this post smaller as I have had a surprisingly large amount of work lately, that’s good, but I don’t like neglecting my posts.


A reoccurring theme lately is people asking me for out of focus photos were one subject, be it an item or a person, is in focus and the background is out of focus or blurry. Photographers refer to the quality of that blurriness as “bokeh.” So, you can have good blurriness or good bokeh or bad blurriness or bad bokeh. Generally, you know good bokeh when you see it. The only way you can get bokeh legitimately, be it good or bad, is by using a DSLR or mirrorless camera. Camera phones can fake it by simulating it through software, but they cannot do real bokeh. Honestly, though, unless you are a photographer you probably are not going to notice.


One quick aside, good luck hammering down how to pronounce “bokeh,” as it is Japanese and even the Japanese pronounce it differently depending on what region you are in: but for the record I pronounce it “bo-kaa.”


Anyway, this photo was done outside with just the sunlight. We obviously had the bubble machine going and I was doing something else at the time, but I’ll try and post that on Thursday. However, this moment was candid. My subject was just sitting down to think a second while her little sister was having a blast in the background. Meanwhile the sun was great and the weather perfect.

Comment
IG - Nov 11, 2021 Post-2.jpg
IG - Nov 11, 2021 Post.jpg
IG - Nov 11, 2021 Post-5.jpg
IG - Nov 11, 2021 Post-7.jpg
IG - Nov 11, 2021 Post-8.jpg
IG - Nov 11, 2021 Post-9.jpg
IG - Nov 11, 2021 Post-2.jpg IG - Nov 11, 2021 Post.jpg IG - Nov 11, 2021 Post-5.jpg IG - Nov 11, 2021 Post-7.jpg IG - Nov 11, 2021 Post-8.jpg IG - Nov 11, 2021 Post-9.jpg

Know the location, know the location, know the location!

Joshua Hubbell May 11, 2021

Busy, busy, busy. That’s good but I hate not having time to post to our business blog.


Anyway, here is a quick one we did the other week at Lake Waterford Park. I am just going to keep singing this same tune, but it is worth repeating – if possible then make sure you know the area. I am familiar with Lake Waterford. I’ve walked all the back paths here, so I have a pretty good layout of the area. Knowing where potential photo session areas are and being able to match those areas with your subject saves time and saved time makes for better photos.


In this case, I knew I had to do two things:


1)      Take the toddler over somewhere she would be fascinated by the surroundings. Easy enough since I know about the back path along the lake.

2)      Do this without having the toddler see the giant playground nearby. She’s a toddler, as soon as she sees a big playground, she will want to play on it and if that happens you either have to say “no” and have an angry/crying toddler, or say “yes” and good luck doing a photo session on a crowded playground.

Knowing the area not only helps in identifying good photo spots but also spots you might need to avoid. It also keeps you confident and confidence is important as there is already any number of unknowns that come up in a photo session and knowing the location helps reduce those unknowns.


These photos were done with just a camera and the sun.

Comment
IG - April 27, 2021 Post.jpg
IG - April 27, 2021 Post-2.jpg
IG - April 27, 2021 Post-3.jpg
IG - April 27, 2021 Post-4.jpg
IG - April 27, 2021 Post-5.jpg
IG - April 27, 2021 Post.jpg IG - April 27, 2021 Post-2.jpg IG - April 27, 2021 Post-3.jpg IG - April 27, 2021 Post-4.jpg IG - April 27, 2021 Post-5.jpg

Think about what makes you happy.

Joshua Hubbell April 27, 2021

Oh man, when things pick up, they pick up all the way lately.  Anyway, I spent the weekend photographing some school musicals and I can’t really share those photos here then I followed it up by doing an actress headshot session which aren’t done cooking yet. Here are a few photos I did a while back.


Do not be afraid to try and get a range of emotions. Sometimes you will be stuck with serious, and serious is fine if you make that seriousness look sharp. However, a real laugh will always be before a real smile. Toddlers tend to be easier to get to laugh so I tell older subjects to try and think of things that make them happy in preparation for the session. If that falls through, then we go for serious or sad and work from there. Sometimes you just need to let the subject see that yes, they do look awesome, before they can relax and start to get a real smile.


Anyways, I got more processing to do and planning. I may have a major session to share soon but I’m finding it’s a more complicated photo session then I first thought so we will see.


#Marylandphotographer #annearundelphotographer #familyphotographer

Comment
IG - April 20, 2021 Post-3.jpg
IG - April 20, 2021 Post-7.jpg
IG - April 20, 2021 Post-2.jpg
IG - April 20, 2021 Post.jpg
IG - April 20, 2021 Post-8.jpg
IG - April 20, 2021 Post-10.jpg
IG - April 20, 2021 Post-13.jpg
IG - April 20, 2021 Post-18.jpg
IG - April 20, 2021 Post-21.jpg
IG - April 20, 2021 Post-30.jpg
IG - April 20, 2021 Post-33.jpg
IG - April 20, 2021 Post-34.jpg
IG - April 20, 2021 Post-3.jpg IG - April 20, 2021 Post-7.jpg IG - April 20, 2021 Post-2.jpg IG - April 20, 2021 Post.jpg IG - April 20, 2021 Post-8.jpg IG - April 20, 2021 Post-10.jpg IG - April 20, 2021 Post-13.jpg IG - April 20, 2021 Post-18.jpg IG - April 20, 2021 Post-21.jpg IG - April 20, 2021 Post-30.jpg IG - April 20, 2021 Post-33.jpg IG - April 20, 2021 Post-34.jpg

Maternity Photos

Joshua Hubbell April 20, 2021

We did a maternity photo session at Fort Smallwood Park the other day. I am very thankful for all the amazing parks in Anne Arundel county. I could have easily done this photo session at any of the parks in Anne Arundel county and ended up with good scenery. Though I do tend to rely on Fort Smallwood and Quiet Waters because I know with 100% certainty, I can get three of four different backgrounds just a short a bit apart.


The trick to doing any session is to try and understand what positive feelings are going on going into the session. For maternity sessions it is usually joy, pride, and a sense that things are about to change for the mother to be in a big way. So, you just tap into those emotions and the directions tend to be very easy as the poses tend to just bubble up. The only catch is to plan ahead of time as there is a time limit to do these photos. Furthermore, you want to keep the session or sessions short as you subject will likely be just a few weeks away from her due date meaning they tire easily.


As always, take a field trip to your local parks and look around. Parks are great places to do photo sessions and I use them often, but you do not want to find the best spots when you go to do the session. If you can go ahead of time and scout around, you will speed things up, improve your photography since you are familiar with the area, and have back up locations.


One other thing, I get permission before I throw up photos like these and only after the client gets the photos first and has time to take them in. I don’t recommend doing it any other way.  

Comment
IG - April 16, 2021 Post.jpg
IG - April 16, 2021 Post-3.jpg
IG - April 16, 2021 Post-4.jpg
IG - April 16, 2021 Post-6.jpg
IG - April 16, 2021 Post-7.jpg
IG - April 16, 2021 Post BW-3.jpg
IG - April 16, 2021 Post.jpg IG - April 16, 2021 Post-3.jpg IG - April 16, 2021 Post-4.jpg IG - April 16, 2021 Post-6.jpg IG - April 16, 2021 Post-7.jpg IG - April 16, 2021 Post BW-3.jpg

Water spray fun.

Joshua Hubbell April 16, 2021

I got an awesome post coming up, but the photos for that update need more processing time and the client’s “okay” (which I am reasonably confident I will get, but I still want to get it first and let the client have the photos first too – there is a process after all).


Anyway, here some photos of a toddler with a water sprayer. If you need to put a smile a kid’s face, give them a water sprayer. Just have a good warranty or insurance on your camera and lenses just in case.  That’s a long boring post for another day.


Getting back to the photos, here the toddler is not only spraying water but also jumping on a trampoline. That means I needed shutter speed to be fast (1/500) which means I needed to adjust in F stop and ISO. It is a giant trade off but if you understand how shutter speed, F stop, and ISO work and how they work together, you can figure out what adjustments you are willing to make in the amounts you are willing to make them. This means you will need to get away from auto settings and work with more manual settings but that will only improve the quality of your work in the long run.


No extra lighting here, just the sun and a lot of worry my camera was going to get water on it.

Comment
IG - April 12, 2021 Post.jpg
IG - April 12, 2021 Post-2.jpg
IG - April 12, 2021 Post-3.jpg
IG - April 12, 2021 Post-4.jpg
IG - April 12, 2021 Post-5.jpg
IG - April 12, 2021 Post-6.jpg
IG - April 12, 2021 Post-7.jpg
IG - April 12, 2021 Post-8.jpg
IG - April 12, 2021 Post BW-9.jpg
IG - April 12, 2021 Post.jpg IG - April 12, 2021 Post-2.jpg IG - April 12, 2021 Post-3.jpg IG - April 12, 2021 Post-4.jpg IG - April 12, 2021 Post-5.jpg IG - April 12, 2021 Post-6.jpg IG - April 12, 2021 Post-7.jpg IG - April 12, 2021 Post-8.jpg IG - April 12, 2021 Post BW-9.jpg

Tell a story.

Joshua Hubbell April 12, 2021

Stories can be told with your photos, just understand this is not like writing a book. Most of the time you will have limited control over how the story plays out in front of your camera. At best you might be able to get it started or add some randomness but beyond that what happens is out of your control – you are just along to photograph the ride. Here, I had my subject sit in a chair for about a minute, waiting. I was ready to start as soon as she sat down but I wanted her surprise and then reaction, so I waited about a minute pretending to fiddle with my camera and then when she gave that bored look, I hit the remote button for the bubble machine to start.  At that point, the story played out on its own and I just photographed the result.


Stories do not have to be complicated. They should have feeling though. Emotions are a wonderful thing and sharing them is something we love to do. When people share a photo on social media of themselves at an event or someplace special, they are not just showing you they are there, they are showing how they feel about being there.  That is what I recommend people aim for in the stories they tell with their photos because that is how people will connect with the stories they tell with their photos.


That and, photography aside, if you ever think you are going to deal with toddlers buy a bubble machine that plugs into the wall and has a remote.

Comment
IG - April 9, 2021  Post.jpg
IG - April 9, 2021  Post-2.jpg
IG - April 9, 2021  Post-3.jpg
IG - April 9, 2021  Post-4.jpg
IG - April 9, 2021  Post-5.jpg
IG - April 9, 2021  Post-6.jpg
IG - April 9, 2021  Post-7.jpg
IG - April 9, 2021  Post.jpg IG - April 9, 2021  Post-2.jpg IG - April 9, 2021  Post-3.jpg IG - April 9, 2021  Post-4.jpg IG - April 9, 2021  Post-5.jpg IG - April 9, 2021  Post-6.jpg IG - April 9, 2021  Post-7.jpg

What to do with eyes during a group session.

Joshua Hubbell April 9, 2021

Another busy period for me but I’ll give what I think is a decent tip from group photos:


Don’t worry if every eye is looking at the camera. Sure, it helps but it isn’t always what you want. Sometimes if just one subject is looking at the camera and every other set of eyes is looking wherever it makes for a more intriguing photo. Even then, it is pretty easy to decide what you’d like those other eyes to be doing. If you want one subject to be the focus, have all eyes on that subject. If you want the person viewing your photos to look all around, then have those extra eyes looking wherever they want.


Or, if you have one set of eyes that is on a toddler and those eyes just won’t look at the camera despite all your tricks, then just go with that.  But don’t sit there stressing out that you can’t get every single eye looking at the camera. Photography sessions are about working around your frustrations to make your subjects look awesome, not transferring frustrations to your subjects and making them miserable.


Anyway, these were done without any extra lighting aside from the sun during golden hour. Use golden hour, it is awesome!

Comment
← NewerOlder →

Search Posts

Powered by Squarespace